Animating Abstract Art: A Beginner’s Guide to Tweening with p5.js

Hello friends! Today, we are diving into the world of creative coding by making a beautiful piece of abstract art and animating it using tweening in p5.js. This tutorial is perfect for coding beginners interested in generative art.
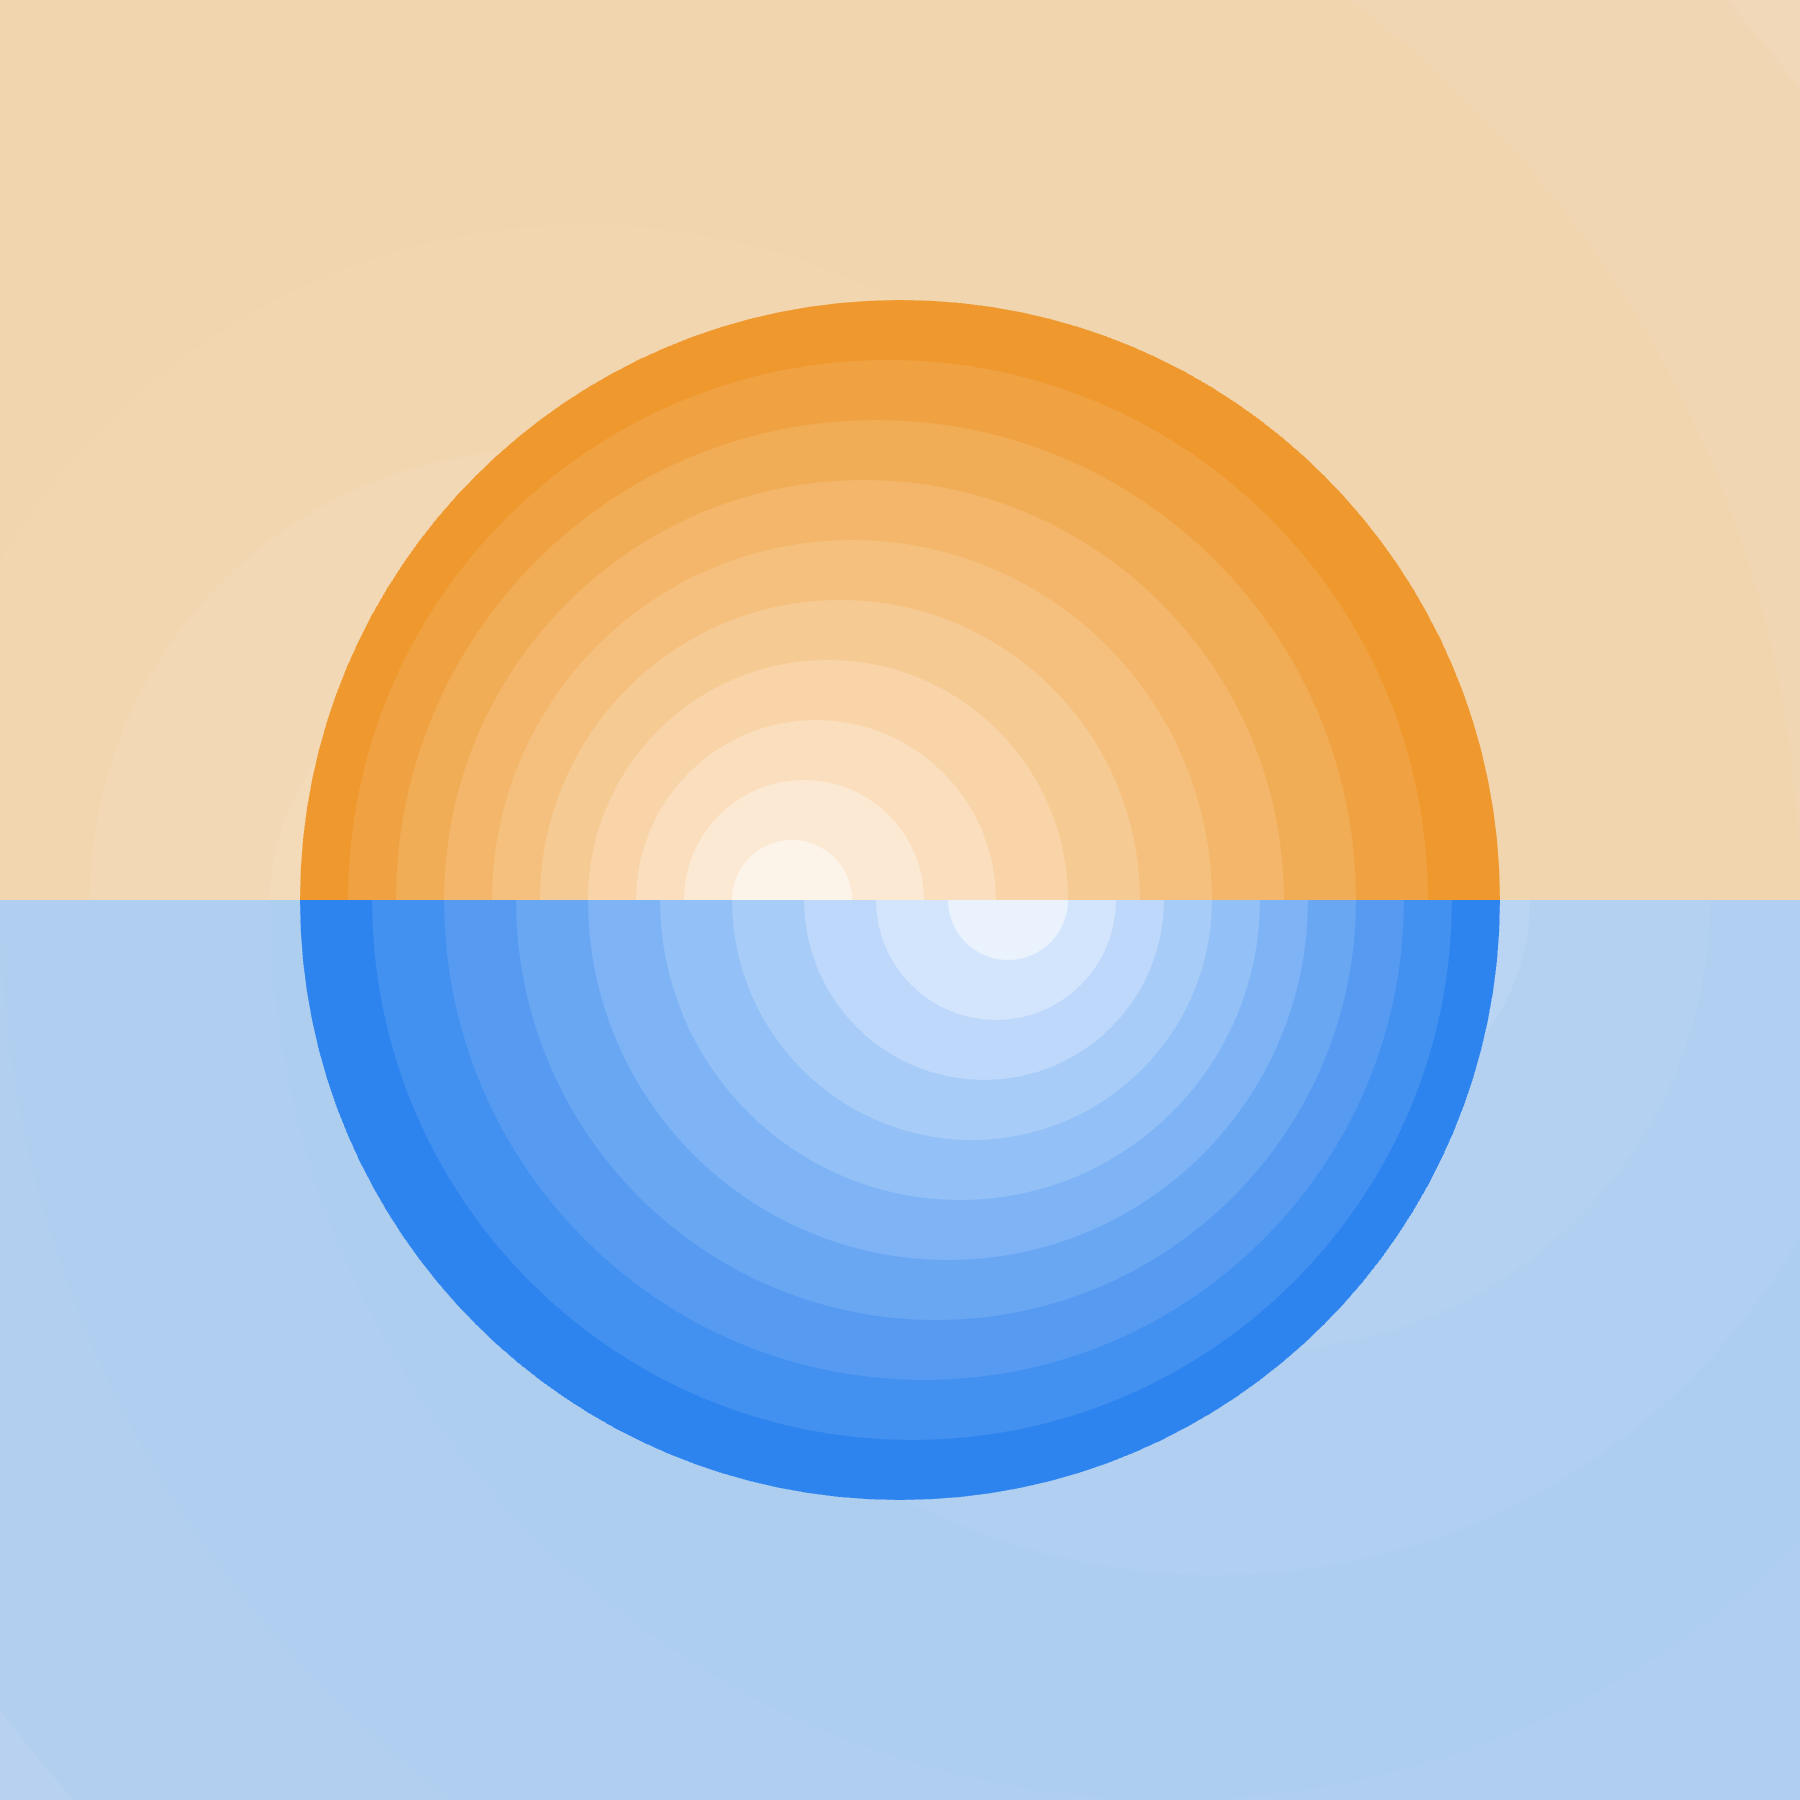
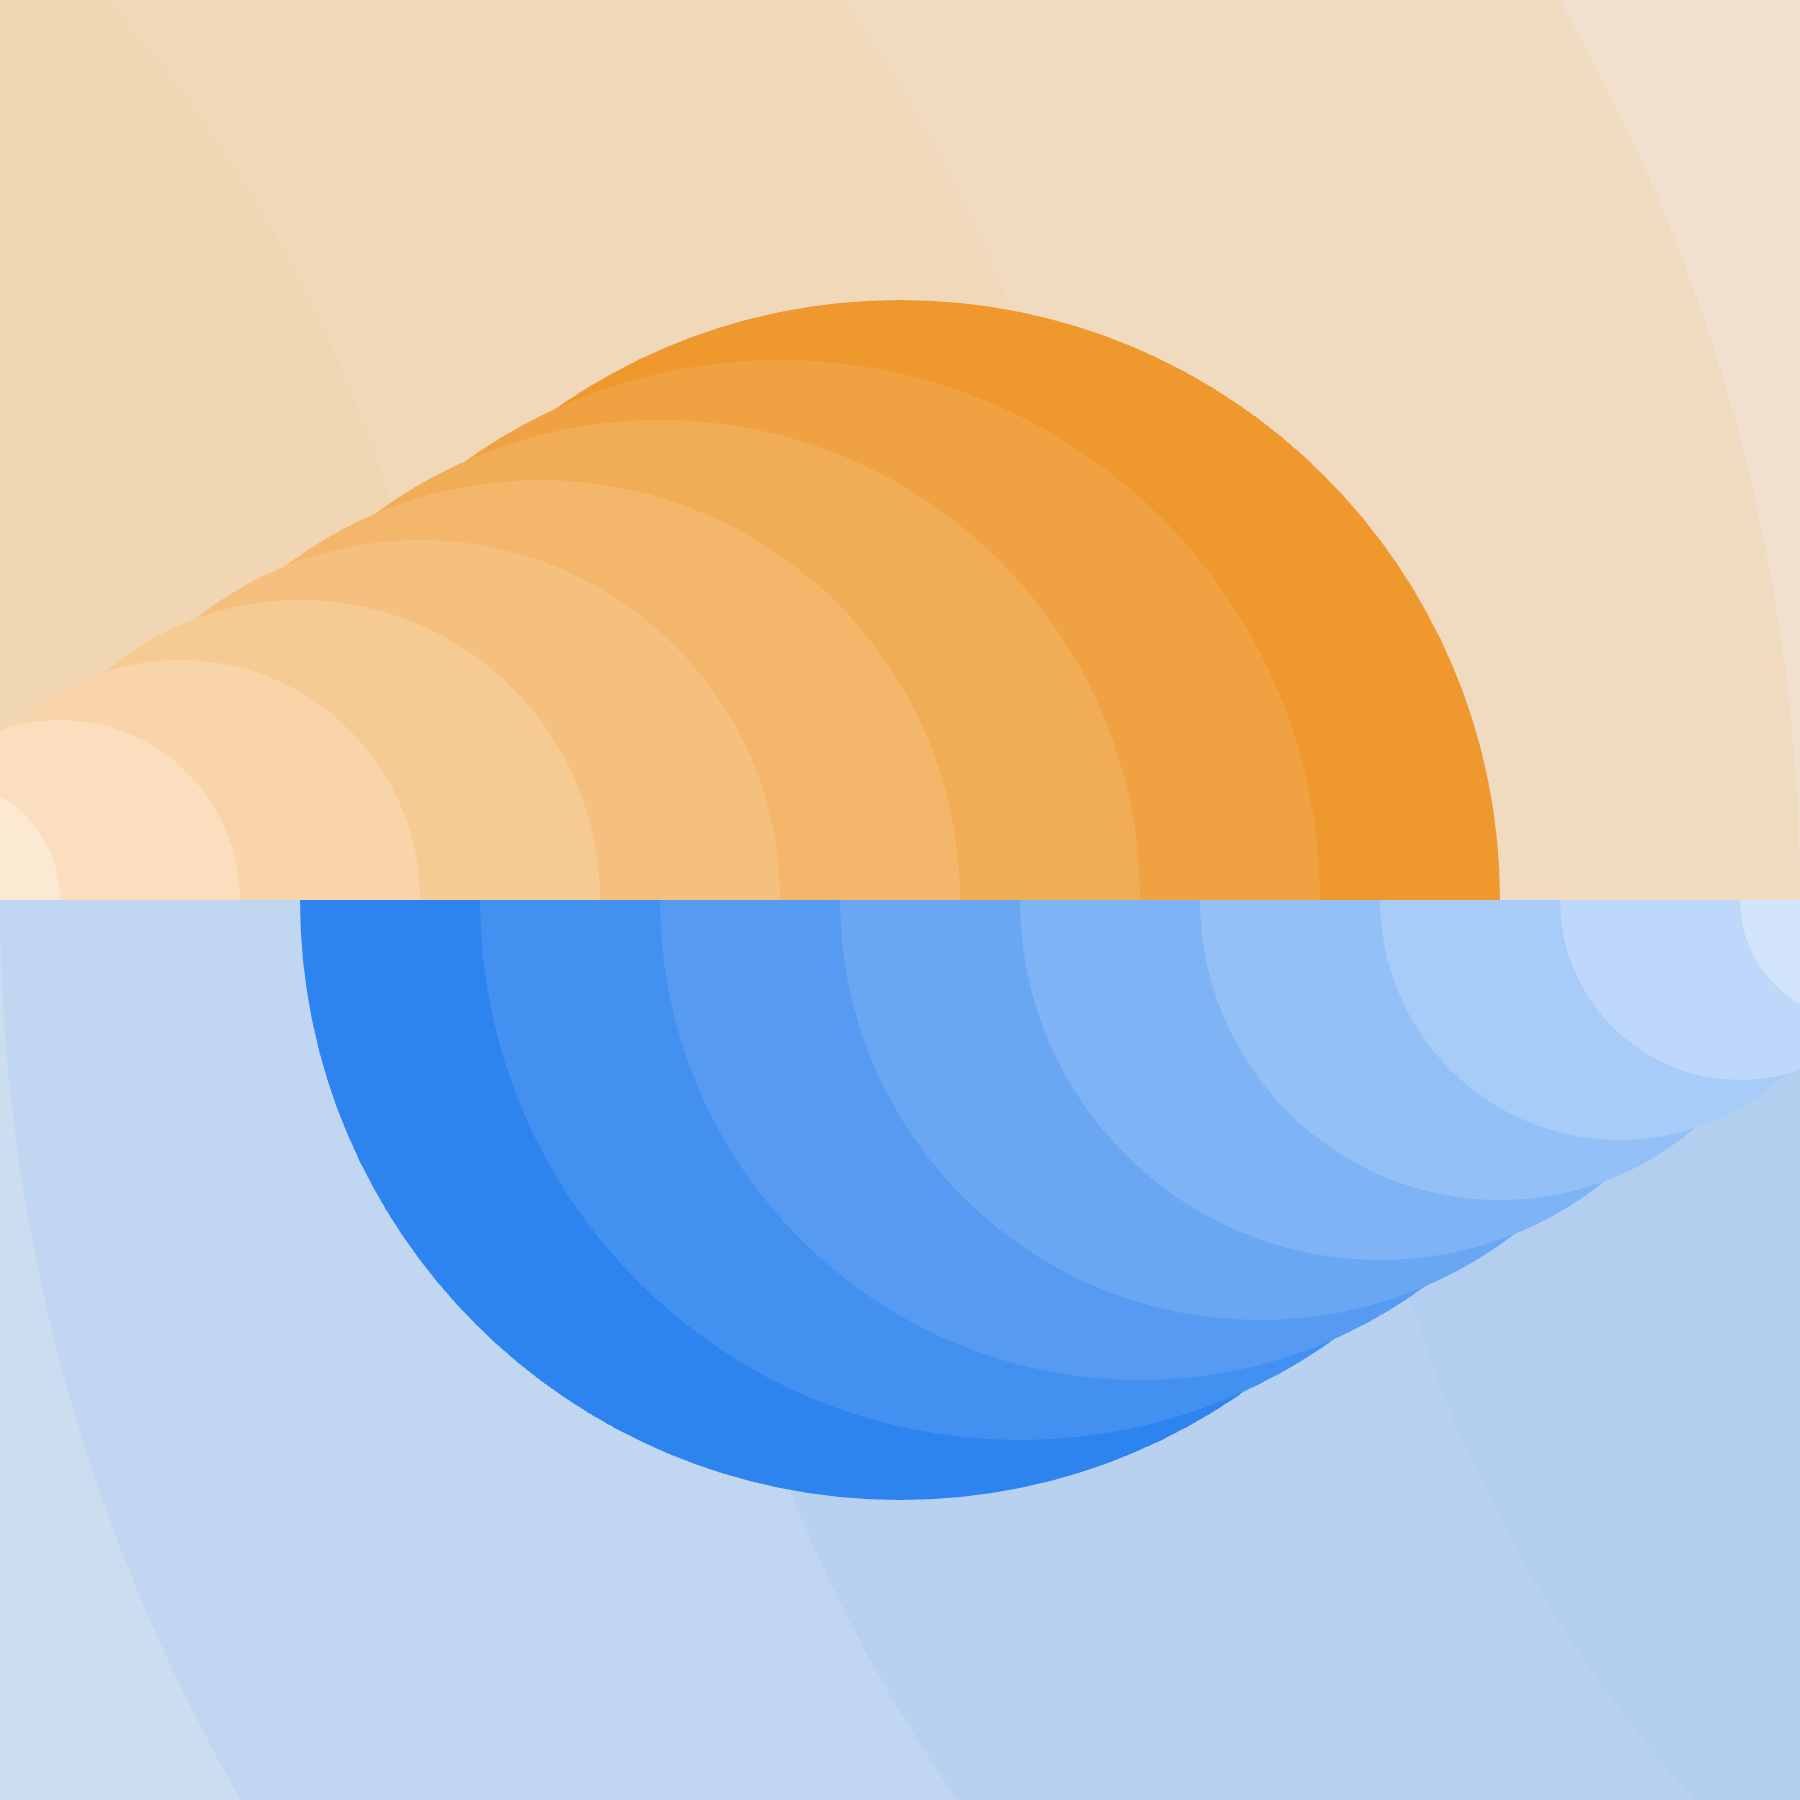
First, let’s take a look at the final piece and identify its elements.
We have two groups of semicircles, ranging from largest to smallest, each with different tints. These semicircles are translated left or right and drawn progressively smaller.
Step 1: Define Variables
Let’s start by defining a few variables we’ll use later.
let options = {
  nrOfCircles: 10,
  endDegreeTop: 0,
  endDegreeBottom: 0,
  delay: 0,
};

const startSize = 400;
const backgroundStartSize = 1500;

const lowerHalfColors = [
  '#2E84EE', '#4290F0', '#569BF1', '#6AA7F3', '#7EB3F5',
  '#93C0F6', '#A8CCF8', '#BDD8FA', '#D3E5FC', '#E9F2FD'
];

const upperHalfColors = [
  '#EE982E', '#F0A242', '#F1AC56', '#F3B66A', '#F5C07E',
  '#F6CA93', '#F8D4A8', '#FADEBD', '#FCE9D3', '#FDF4E9'
];
These variables are self-explanatory. We’ll use options.delay later to animate the semicircles.
Step 2: Setup Function
Our setup function initializes the canvas and sets some initial values.
function setup() {
  createCanvas(600, 600);

  options.endDegreeTop = TWO_PI;
  options.endDegreeBottom = PI;
}
We create a 600x600 canvas and set endDegreeTop to TWO_PI and endDegreeBottom to PI. We can’t do this when defining the options object because TWO_PI and PI are constants provided by p5.js.
Step 3: Drawing Semicircles
Next, we’ll create a function to draw the semicircles.
function drawSemicircles(nrOfCircles, colors, alpha, startSize, sizeDifference, startDegree, endDegree, direction) {
  for (let i = 0; i < nrOfCircles; i++) {
    push();
    let fillColor = color(colors[i]);
    fillColor.setAlpha(alpha);
    fill(fillColor);

    if (direction) {
      translate(width / 2 + (i * sizeDifference) * 0.5, height / 2);
    } else {
      translate(width / 2 - (i * sizeDifference) * 0.5, height / 2);
    }

    arc(0, 0, startSize - (i * sizeDifference), startSize - (i * sizeDifference), startDegree, endDegree);
    pop();
  }
}
In this function, we iterate over the number of circles, set the fill color with transparency, and translate the semicircles to the left or right before drawing them.
The fill and translate calls are wrapped with push() and pop() to restrain their effects to that context.
Step 4: Draw Function
Now, let’s look at the draw function.
function draw() {
  background(240);
  noStroke();

  const sizeDifference = startSize / options.nrOfCircles;

  drawSemicircles(options.nrOfCircles, upperHalfColors, 255, startSize, sizeDifference, PI, options.endDegreeTop, false);
  drawSemicircles(options.nrOfCircles, lowerHalfColors, 255, startSize, sizeDifference, 0, options.endDegreeBottom, true);
}
First, we calculate the size difference between semicircles. Then, we call our drawSemicircles function twice: once for the upper semicircles and once for the lower ones.
Step 5: Animating with p5.tween
Finally, let’s animate this using the p5.tween library. A “tween” generates intermediate frames between keyframes to create the illusion of motion or transformation.
p5.tween.manager.addTween(options, 'tween')
    .addMotions([
      { key: 'endDegreeTop', target: TWO_PI },
      { key: 'endDegreeBottom', target: PI },
    ], 1000, 'easeInCubic')
    .addMotion('nrOfCircles', 10, 1200, 'easeOutCubic')
    .addMotion('delay', 0, 500, 'easeOutCubic')
    .addMotion('nrOfCircles', 1, 1000, 'easeInCubic')
    .addMotions([
      { key: 'endDegreeTop', target: PI },
      { key: 'endDegreeBottom', target: 0 },
    ], 1000, 'easeOutCubic')
    .startTween();
We use three methods from this library. addTween creates a new tween with the options object. addMotions specifies the properties to change, their targets, durations, and easing functions. The motions in addMotions execute simultaneously, while those in addMotion execute sequentially.
The delay key is used to pause for 500 milliseconds before animating other properties.
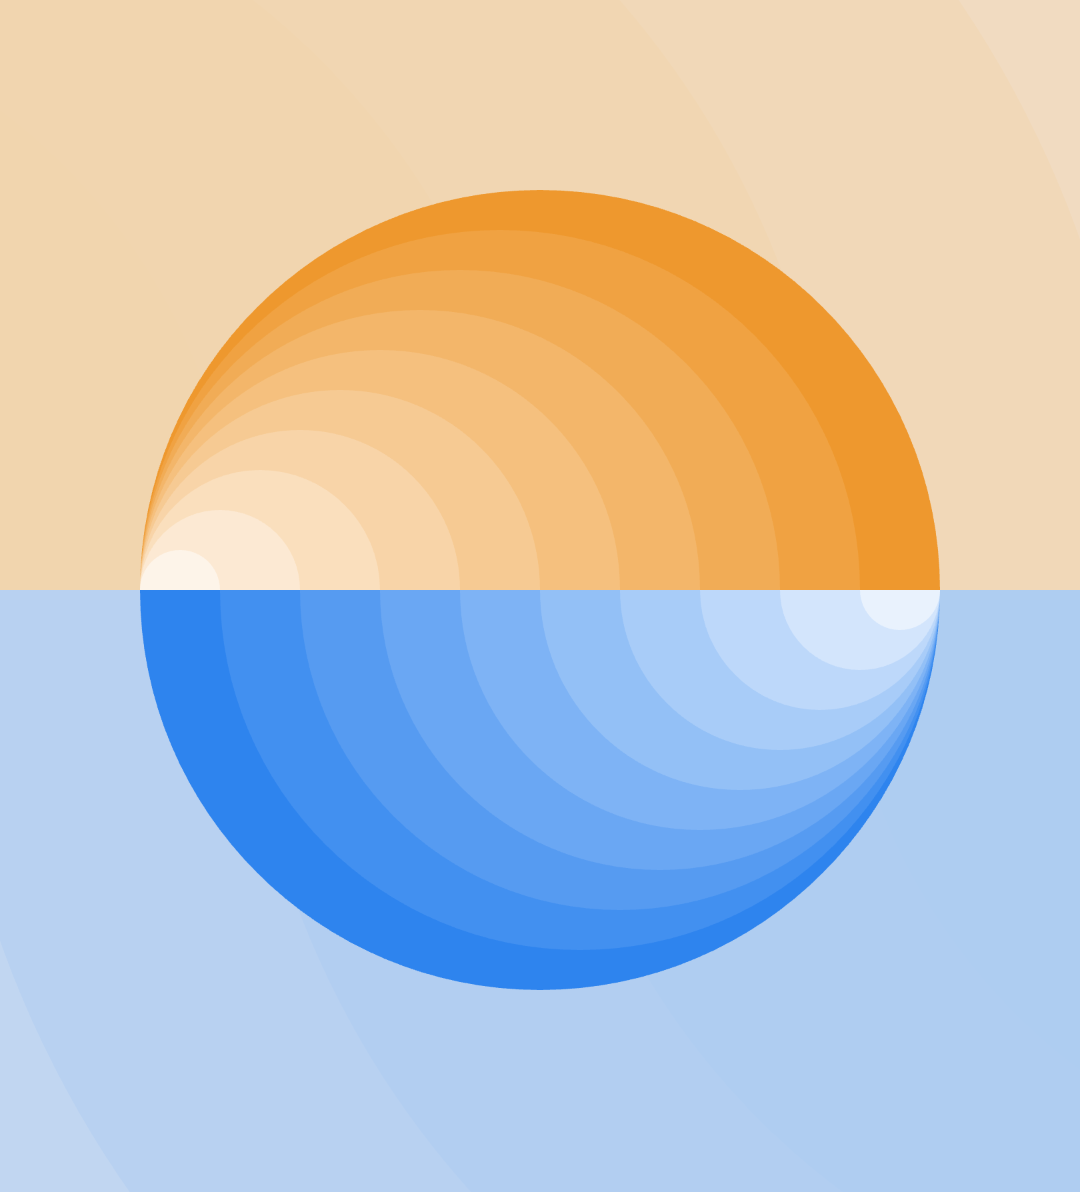
Here are a few examples based on different values used for the number inside the translate function. I encourage you to play around with that number, which initially was 0.5
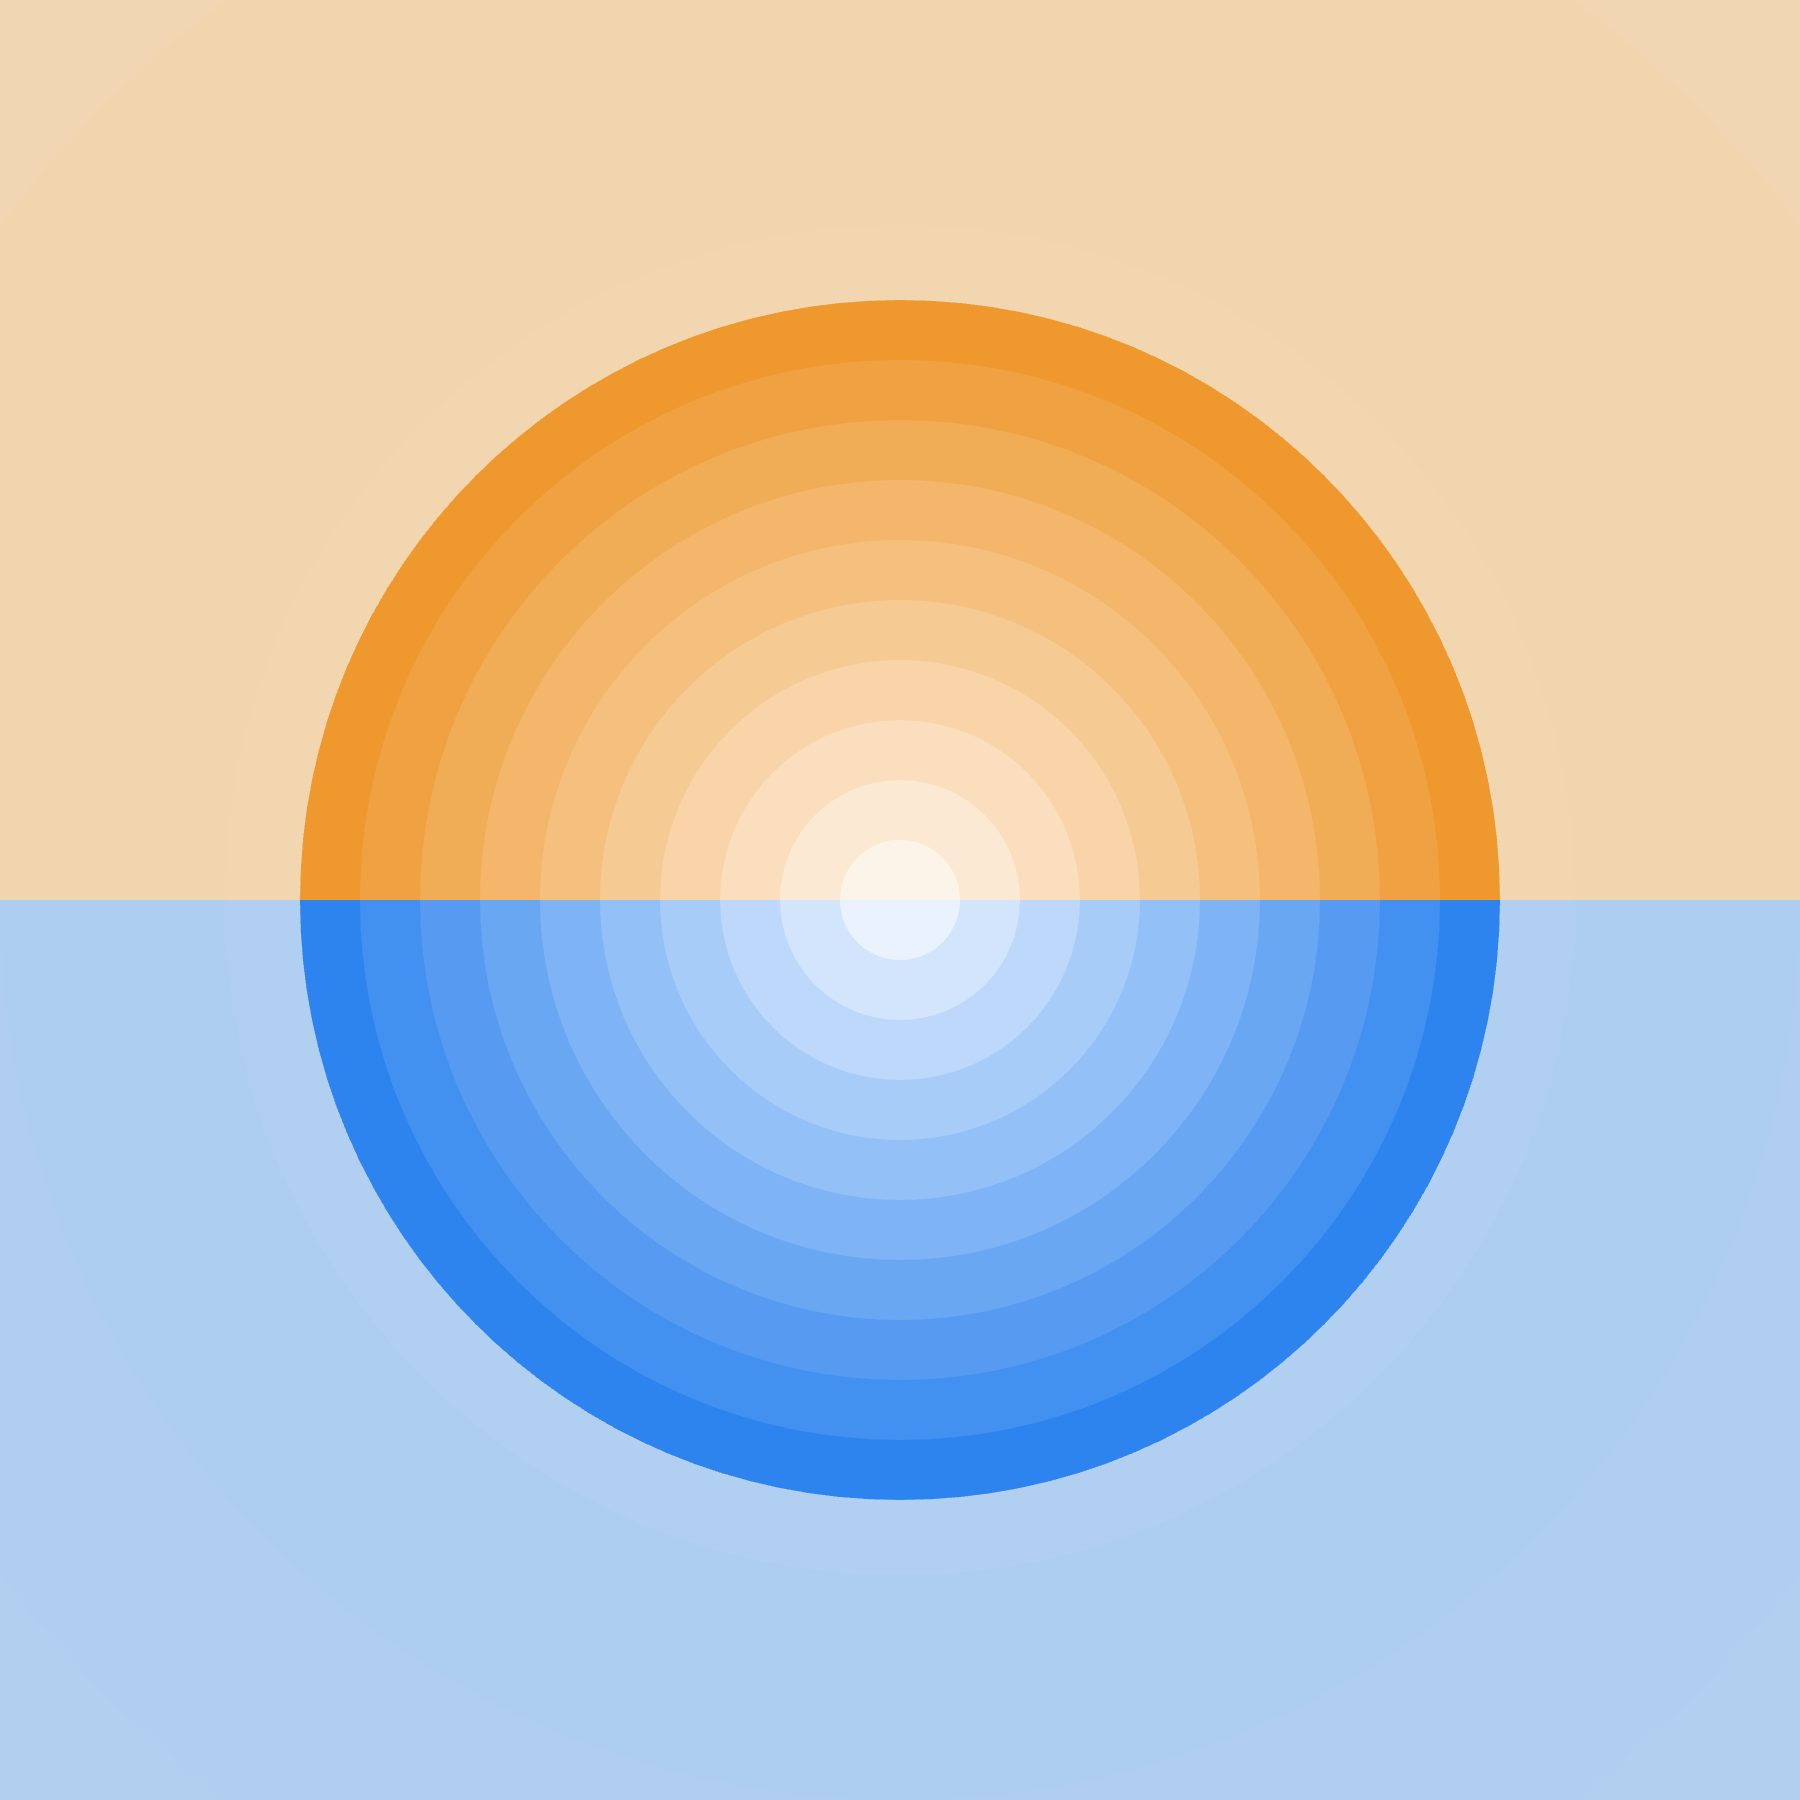
Very different results by changing only one number
🥳 That's all, congrats for following along and learning more about creative coding and p5.js.
Like always, you can find the full code here:
Wrapping Up
Thank you for following along with this tutorial! If you have any questions, feedback, or just want to share your own creations, please feel free to leave a comment below. I’ll make sure to respond and help you out as best as I can.
Stay connected for more exciting tutorials and creative coding tips by subscribing to this blog. I really appreciate it!
Happy coding, and see you in the next tutorial!
Don’t miss any new posts — subscribe for free! It really helps me out, and I’d love to have you along. Thanks!
Next tutorial
In the next tutorial, we will explore how to create a piece of geometric abstract art using p5.js and consolidate the knowledge of push(), pop() and translate() functions together with other programming concepts. See you there!