Building an Interactive Generative Art with p5.js, Tweakpane, and Watercolor Effects

In the previous tutorial, we looked at how we can build an interactive piece of digital art using p5.js and we talked a bit about the math behind it.

This tutorial walks through creating a customizable generative art grid using p5.js, Tweakpane, and the p5.brush library for watercolor textures. Whether you're new to creative coding or looking to expand your generative art toolkit, this project blends structure, randomness, and interactivity to produce unique visual compositions.
We’ll also look at how this sketch became the foundation for an interactive artwork generator available at canvas.alexcodesart.com, where answering a few simple questions creates a one-of-a-kind digital artwork.
What We're Building
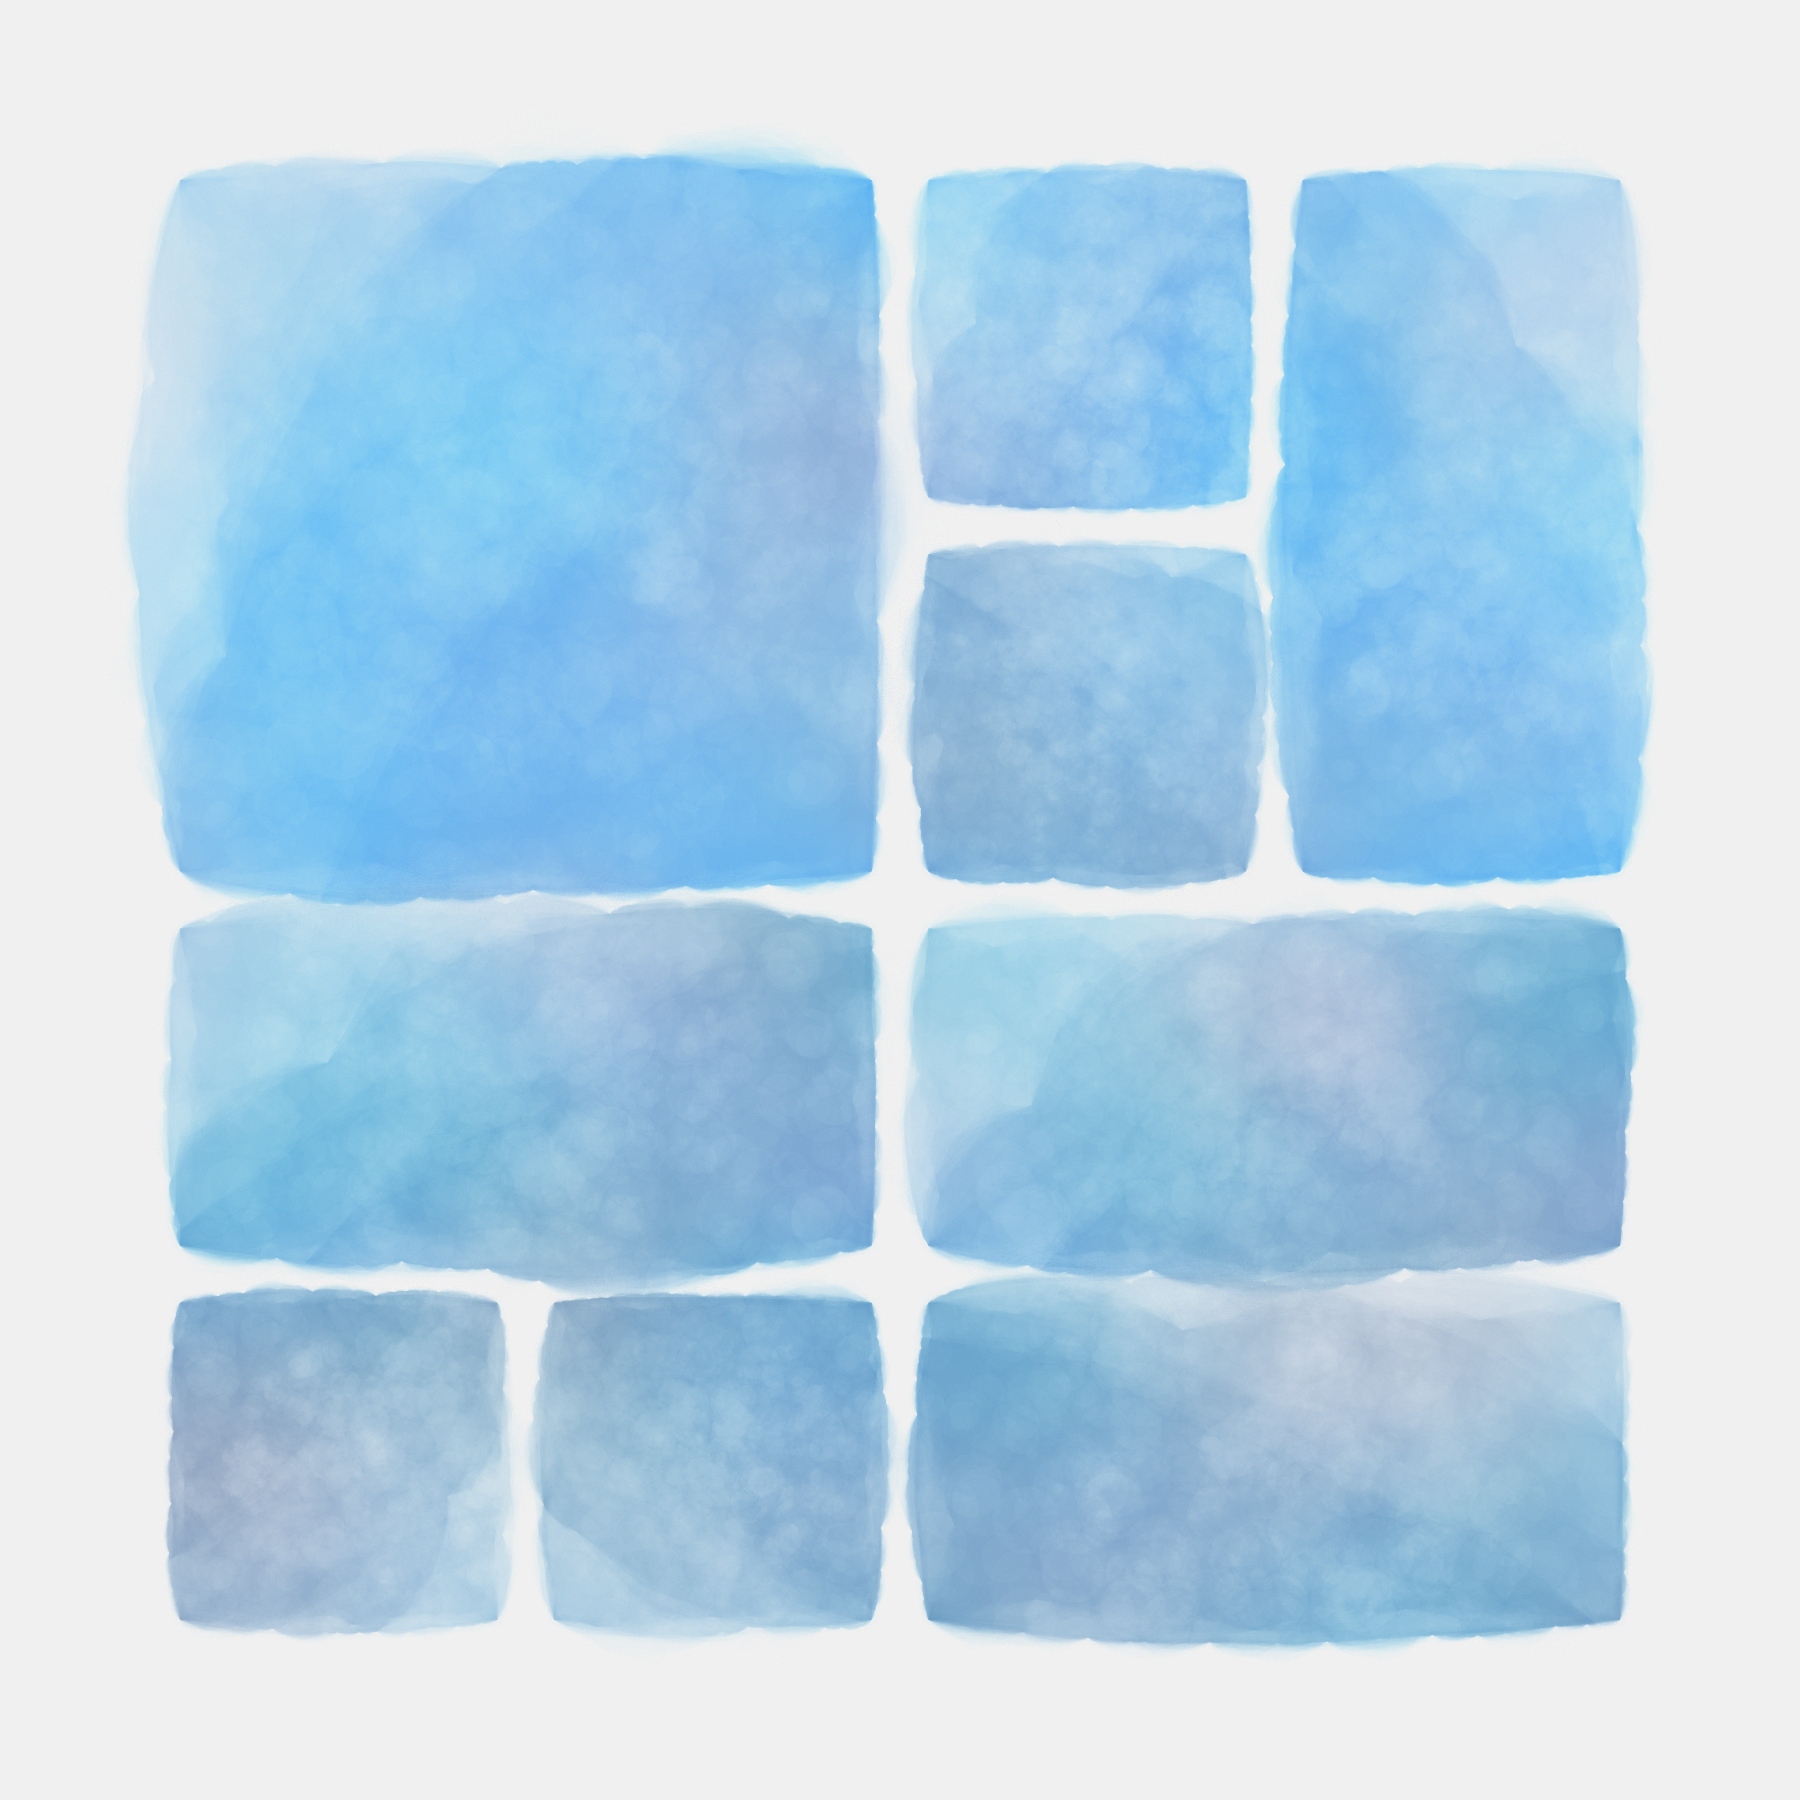
This project creates a grid of rectangles that can be styled with watercolor fills, hatching, and strokes. All visual aspects are tweakable through a user interface. It’s a perfect introduction to:
- Generative art techniques
- Creative coding with p5.js
- Using Tweakpane for live parameter editing
- Building with classes in JavaScript
- Integrating p5.brush for painterly effects
It’s beginner-friendly and great for anyone learning to code through art.
Setting Up the Canvas
We start by creating a WEBGL canvas with high pixel density for crisp visuals:
function setup() {
  createCanvas(600, 600, WEBGL);
  pixelDensity(3);
  setupTweakpane();
}
WEBGL is used to support advanced drawing and p5.brush functionality. The brush setup allows us to achieve textures that mimic ink and watercolor.
Interactive Parameters with Tweakpane
Tweakpane provides a clean UI to adjust parameters like grid size, padding, margins, fill strategy, and visual styles like stroke and hatch.
Here's a snippet showing how we allow the user to choose color variation style:
pane.addInput(params, "colorVariation", {
  options: {
    Tint: COLOR_VARIATION_TINT,
    Shade: COLOR_VARIATION_SHADE,
  },
});
Other customizable parameters include number of rows and columns, padding, margin, fill strategies (random, row, column), and visual enhancements like stroke weight and hatch angle.
pane.addInput(params, "rows", { min: 1, max: 30, step: 1 });
pane.addInput(params, "cols", { min: 1, max: 30, step: 1 });
pane.addInput(params, "strokeStyleColor", { view: "color" });
Every change triggers a redraw by setting parametersChanged = true, ensuring instant visual feedback.
The Grid Class: Structure Meets Style
The Grid class is the heart of the sketch. It handles layout, color assignment, sizing logic, and rendering. Here's how it works:
Grid Initialization
constructor(width, height, rows, cols) {
  this.width = width;
  this.height = height;
  this.rows = rows;
  this.cols = cols;
  this.#occupied = Array(rows).fill().map(() => Array(cols).fill(false));
}
We use an internal #occupied array to manage which grid cells are already taken when shapes span multiple cells.
Setting Fill Color
getColorFill(i, j) {
  if (this.colorFillStrategy === Grid.COLOR_FILL_ROW) {
    return this.colors[j % this.colors.length];
  } else if (this.colorFillStrategy === Grid.COLOR_FILL_COLUMN) {
    return this.colors[i % this.colors.length];
  } else {
    return this.colors[int(random(0, this.colors.length))];
  }
}
This lets us decide how color gets applied—across rows, columns, or randomly.
Size Variation
getSizeFactor(i, j) {
  let maxW = 1;
  let maxH = 1;
  while (j + maxW < this.cols && !this.#occupied[i][j + maxW] && maxW < this.itemMaxWidthFactor) maxW++;
  while (i + maxH < this.rows && !this.#occupied[i + maxH][j] && maxH < this.itemMaxHeightFactor) maxH++;
  return [floor(random(1, maxW + 1)), floor(random(1, maxH + 1))];
}
This gives visual variety by allowing some shapes to span multiple grid cells.
Adding Texture with p5.brush
Using the p5.brush library, we simulate watercolor fills and pencil-like hatching:
setupFillAndStroke(fillColor) {
  if (this.colorFillStyle === Grid.COLOR_FILL_STYLE_WATERCOLOR) {
    brush.fill(fillColor, 75);
    brush.bleed(0.03, "out");
    brush.fillTexture(0.6, 0.4);
    brush.stroke(this.strokeStyle.color);
    brush.strokeWeight(this.strokeStyle.weight);
  } else {
    fill(fillColor);
    stroke(this.strokeStyle.color);
    strokeWeight(this.strokeStyle.weight);
  }
}
We also add hatch lines for texture:
if (this.hatchStyle.enabled) {
  brush.hatch(this.hatchStyle.distance, this.hatchStyle.angle);
  brush.setHatch('hatch_brush', this.hatchStyle.color, this.hatchStyle.weight);
}
This creates a rich visual texture that sets this apart from flat, digital visuals.
Drawing the Grid
The main draw() function brings everything together. Here's a simplified view:
function draw() {
  if (!parametersChanged) return;
  parametersChanged = false;

  background(240);
  apply2DTransformations();

  let colorGen = new ColorGenerator(params.startColor);
  let colors = params.colorVariation === COLOR_VARIATION_TINT
    ? colorGen.getTints(params.cols)
    : colorGen.getShades(params.cols);

  grid = new Grid(width, height, params.rows, params.cols);
  grid.setColors(colors);
  grid.setColorFillStrategy(params.colorFillStrategy);
  grid.setColorFillStyle(params.colorFillStyle);
  grid.draw();
}
Each rectangle is rendered according to all the styles and logic you configure via the UI.
From Sketch to Artwork Generator
Inspired by this sketch, I built an interactive generative art experience:
Instead of tweaking sliders, users answer a few simple questions. Their answers feed into the code to generate a completely unique piece of generative art—no two are the same. This bridges code art with personalization, creating a fun and accessible entry point into creative coding.
Why This Is Great for Beginners
- No advanced math or graphics knowledge required
- Real-time feedback helps you learn by doing
- Teaches essential JavaScript and p5.js concepts
- Easily expandable: add animation, export, or save features
Whether you're just learning to code or looking to experiment with generative visuals, this is a practical, rewarding project.
Final Thoughts
Creative coding is one of the most exciting ways to learn programming. With tools like p5.js and libraries like p5.brush, you can create expressive, organic visuals with just a few lines of code.
As always, the full code can be found here:
This generative art grid is a great starting point. Play with the code, tweak the UI, change the layout—see what you can come up with.
Then, take it further. Make it yours. Happy coding!
Want to stay updated with new articles? Just hit subscribe — it’s completely free, and I’d really appreciate the support. Thanks a lot!
Next tutorial
If you enjoyed building the generative art grid, the next step is to explore shape and motion using noise and polar coordinates. In the follow-up tutorial, we’ll create dynamic, rippling circles that animate in real-time using Perlin noise. You’ll learn how to use trigonometry, map(), and vertex-based drawing to build flowing, organic visuals — all fully customizable with Tweakpane.
