Create Stunning Generative Art with Circles in p5.js


Welcome back to another exciting tutorial about creative coding and generative art! Today, we'll dive into creating a simple composition with concentric circles and some text. In the second part of this tutorial, we'll use p5.gui.js to create a small graphical interface, allowing us to easily manipulate parameters and experiment by tweaking some values. Let's get started!
Drawing the Circles
We'll begin by defining a few variables inside an object that we'll later use to draw the circles.
let props = {
  circleNo: 5,
  sizeDifference: 75,
  baseCircleSize: 50,
  colorDifference: 12,
  baseColor: '#e76f51',
  backgroundColor: '#2a9d8f',
};
Next, we'll set up our canvas in the setup function:
function setup() {
  createCanvas(400, 500);
}
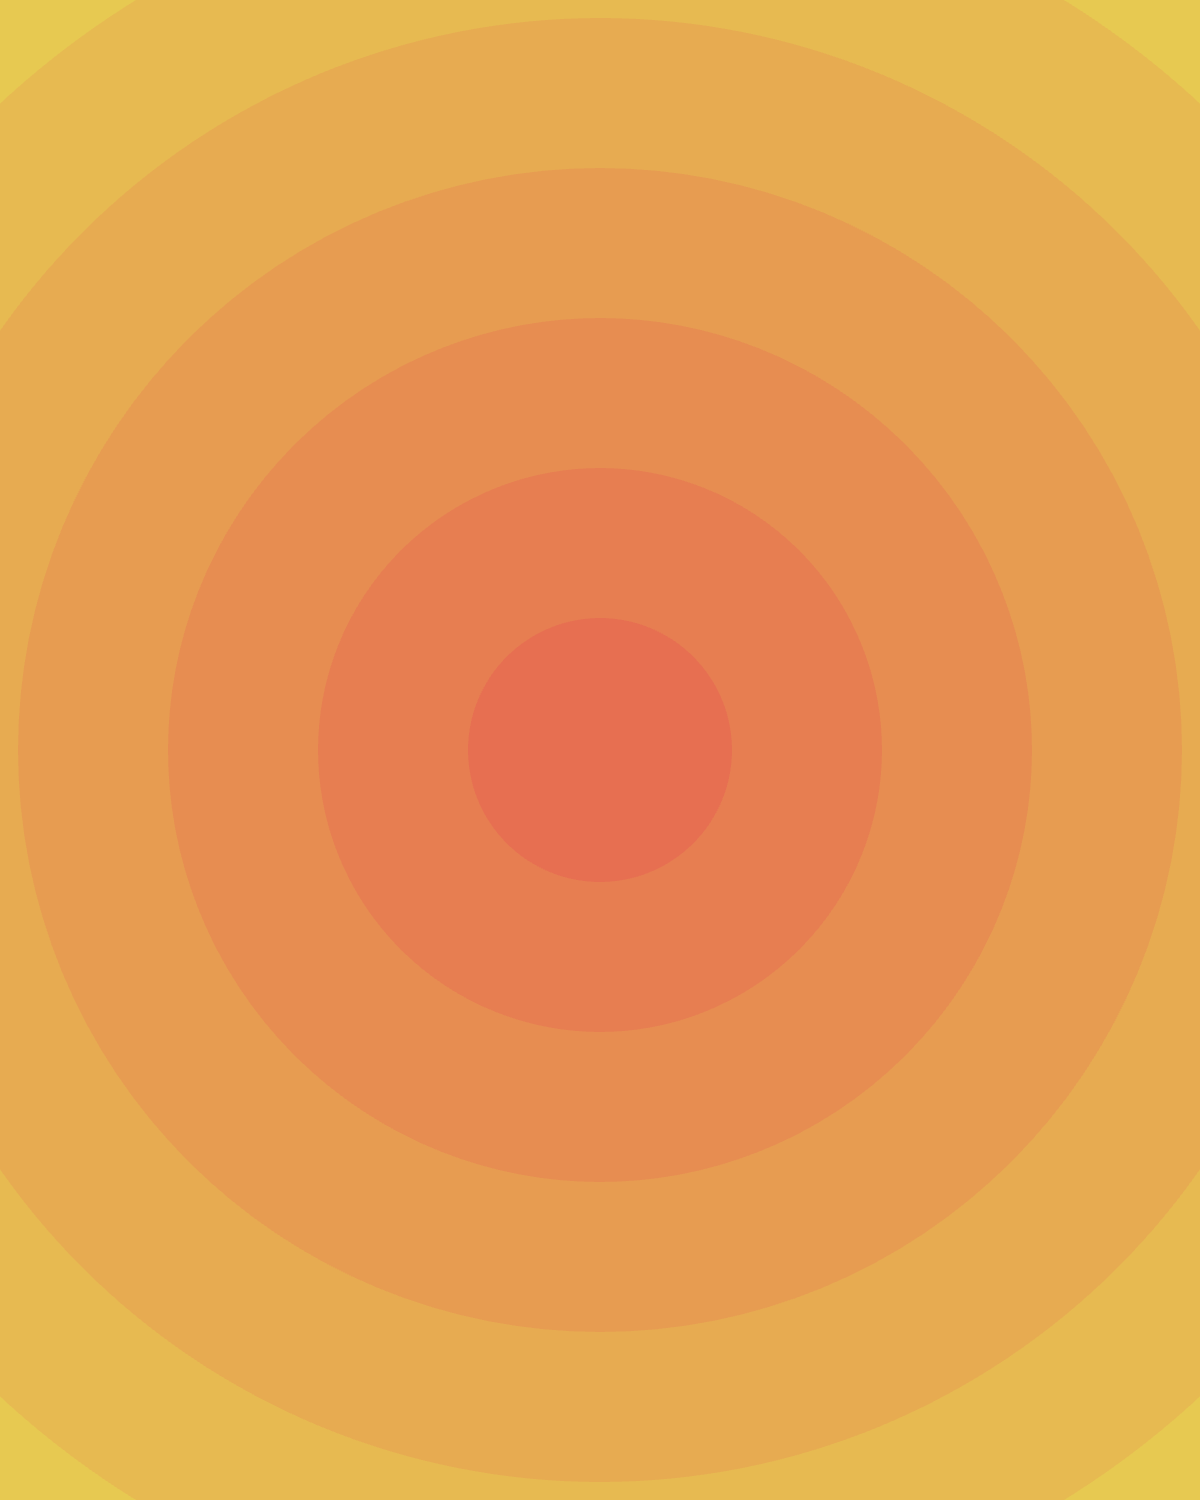
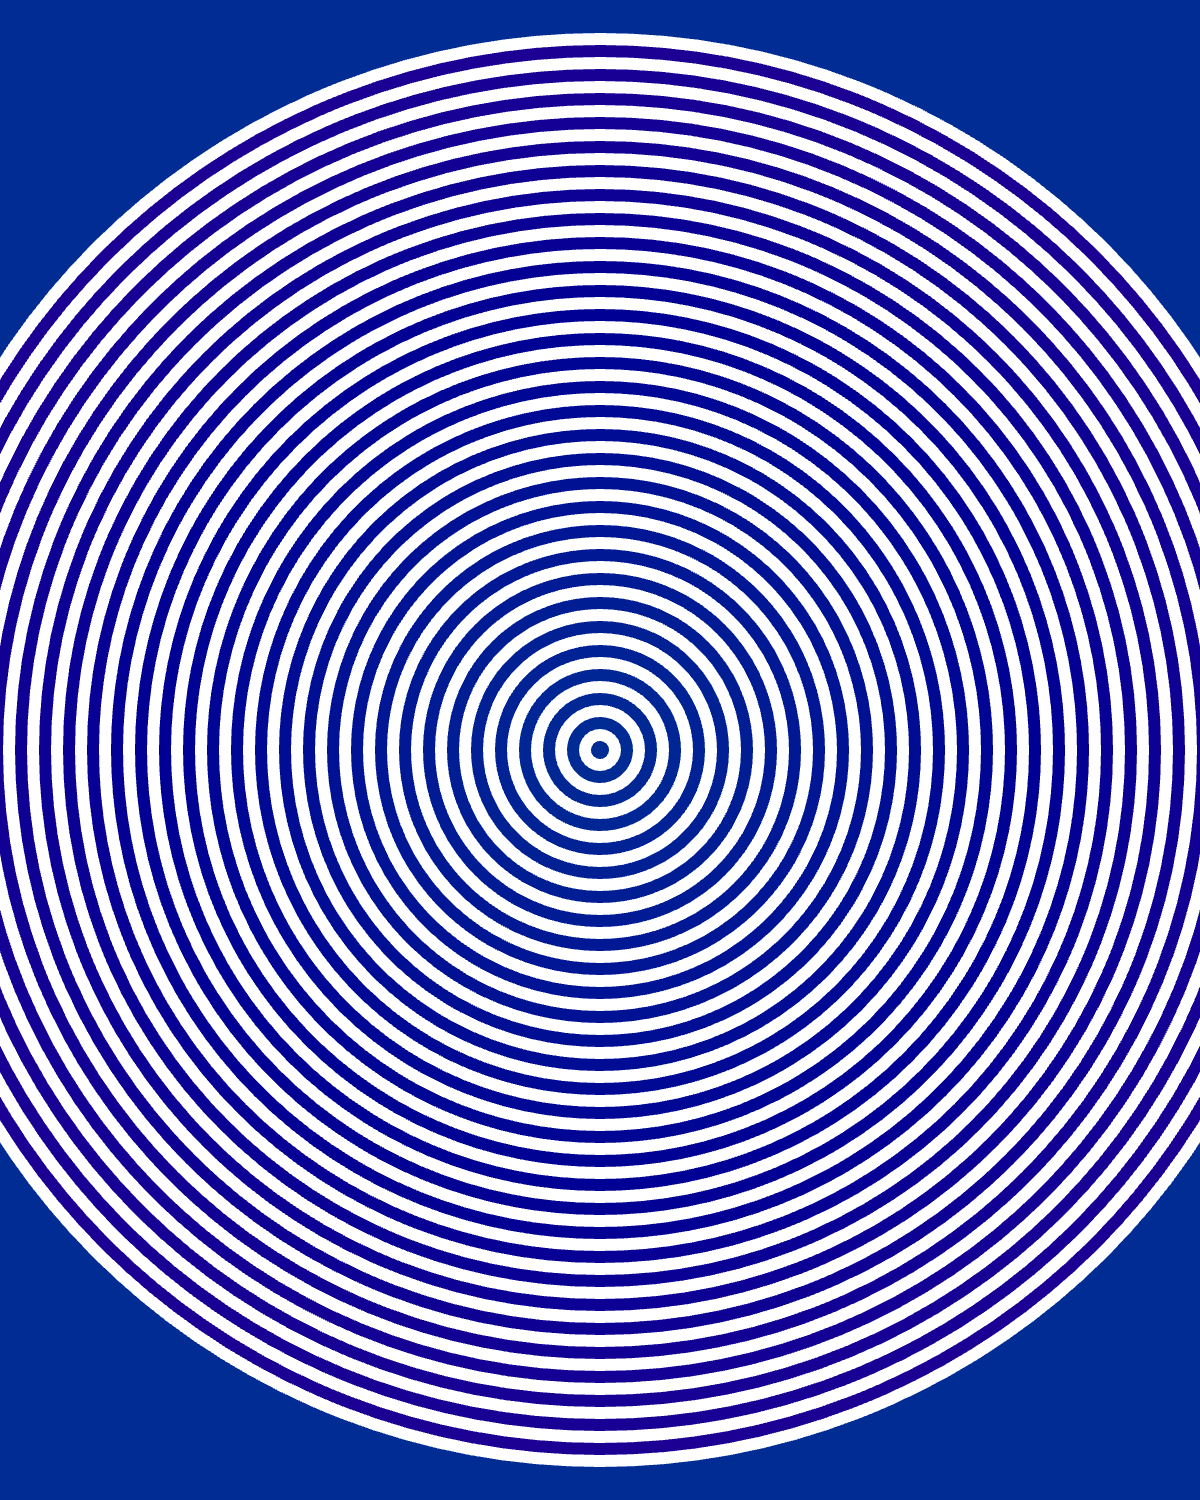
In the draw function, we'll first set the background color and then draw the concentric circles. We need to draw the circles from the largest to the smallest to ensure each new shape covers the previous one appropriately.
function draw() {
  background(props.backgroundColor);

  colorMode(HSB, 360, 100, 100);

  for (let i = props.circleNo - 1; i >= 0; i--) {
    let colorObj = color(props.baseColor);
    let h = hue(colorObj);
    let s = saturation(colorObj);
    let b = brightness(colorObj);

    fill(color((h + (props.colorDifference * i)) % 360, s, b));
    circle(width / 2, height / 2, (props.baseCircleSize + (i * props.sizeDifference)));
  }
}
We first set the background color and then switch the color mode to HSB for easier color manipulation. The for loop iterates in decreasing order to draw the largest circles first. We adjust the hue value for each circle using the modulo operator to keep it within the 0-359 range. Play around with saturation and brightness to see different results!
This is what we got so far:

Understanding Color Modes
Now, let’s talk a bit about color modes. The default color mode in p5.js is RGB. This stands for Red, Green, Blue, and every color is made of 3 values, from 0-255, where each value represents the amount of red, green, and blue the color has. For example, (255, 0, 0) is pure red, and (0, 255, 0) is pure green. Using this color mode while trying to obtain other colors close to the one you’re using can be challenging.
That’s why we will use the HSB color mode. This stands for Hue, Saturation, and Brightness, where each value is made of 3 components. In this color mode, each color is made of 3 values, but this time in a range from 0-100 by default.
- Hue represents the type of color we see. It’s the aspect of color described by names like red, blue, yellow, and green.
- Saturation measures the intensity or purity of the color. A saturation of 100 means the color is fully intense, while 0 means it’s a shade of gray.
- Brightness indicates how light or dark the color is. At 100, the color is as bright as possible; at 0, it is completely black.
In p5.js, you can also specify different ranges for each component, and we will use this to set the hue component between 0-360, so we have more control over the color changes.
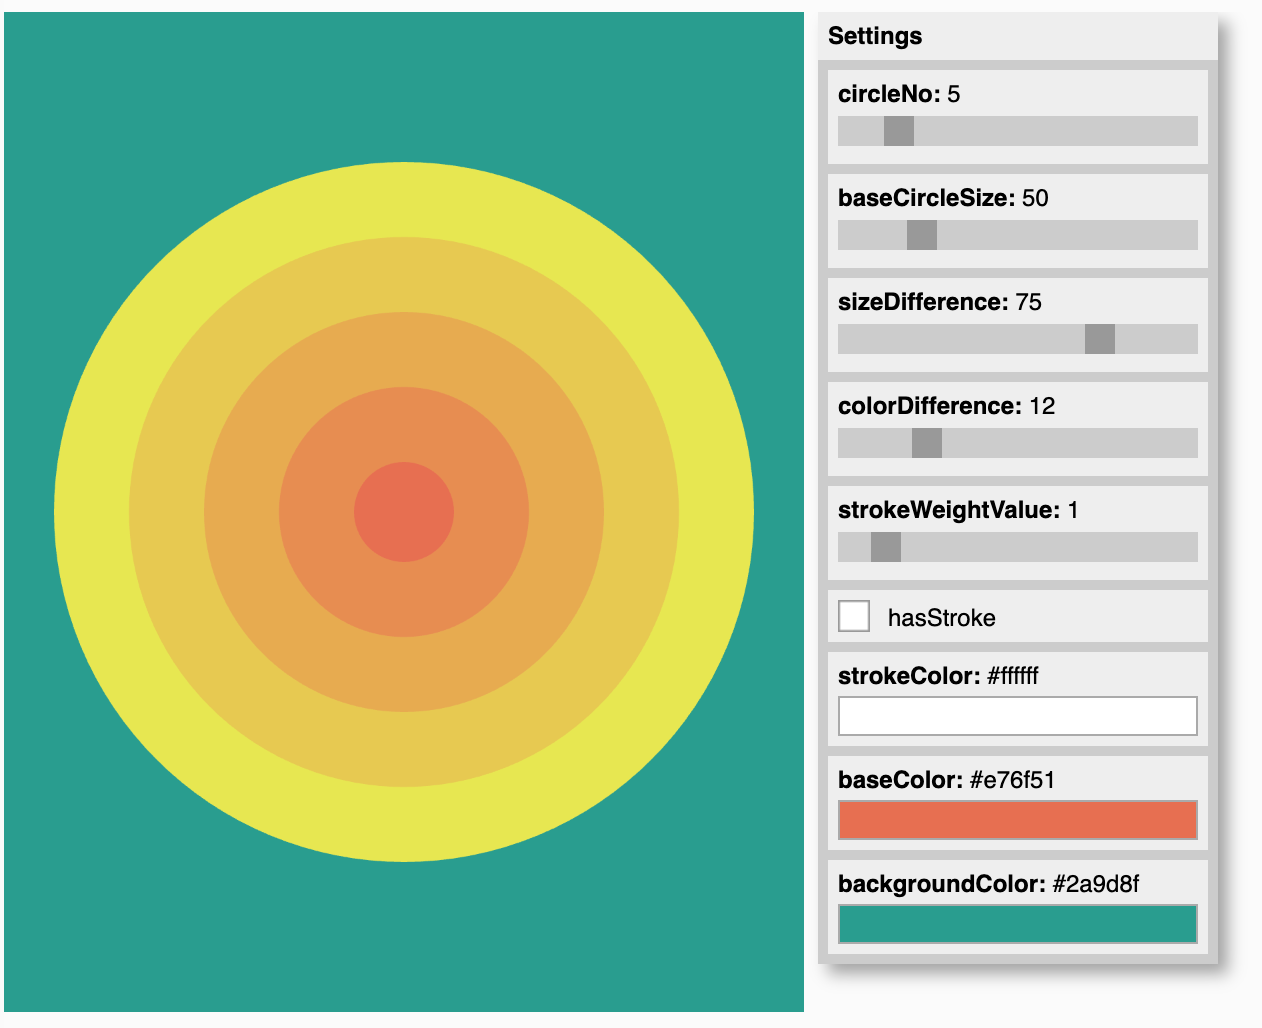
Enhancing with a GUI Library
Now, let's add some interactivity by using the p5.gui library. This will allow real-time adjustments to the properties of our circles, making our artwork dynamic and customizable.
Setting Up p5.gui
You first need to download the quicksettings.js and p5.gui.js files from here
 bitcraftlab
First, include the p5.gui library in your project by adding this scripts to your HTML file:
<script src="quicksettings.js"></script>
<script src="p5.gui.js"></script>
Define our properties object with additional parameters for the p5.gui library. You can use the same property name and append Min, Max and Step to customise the minimum, maximum and the step for the sliders.
var props = {
  // Circle properties
  circleNo: 5,
  circleNoMin: 1,
  circleNoMax: 30,
  circleNoStep: 1,

  // main circle size
  baseCircleSize: 50,
  baseCircleSizeMin: 10,
  baseCircleSizeMax: 200,
  baseCircleSizeStep: 1,

  // Size difference
  sizeDifference: 75,
  sizeDifferenceMin: 1,
  sizeDifferenceMax: 100,
  sizeDifferenceStep: 1,

  // Color difference
  colorDifference: 12,
  colorDifferenceMin: 1,
  colorDifferenceMax: 50,
  colorDifferenceStep: 1,

  // Stroke weight
  strokeWeightValue: 1,
  strokeWeightValueMin: 0,
  strokeWeightValueMax: 10,
  strokeWeightValueStep: 1,

  // Stroke setting
  hasStroke: false,

  // Colors
  strokeColor: '#ffffff',
  baseColor: '#e76f51',
  backgroundColor: '#2a9d8f',
};

function setup() {
  createCanvas(400, 500);

  var gui = createGui("Settings");
  gui.addObject(props);
}
In the setup function, we call the createGui function and pass the settings object. The library will generate a user interface with sliders and checkboxes based on our properties.
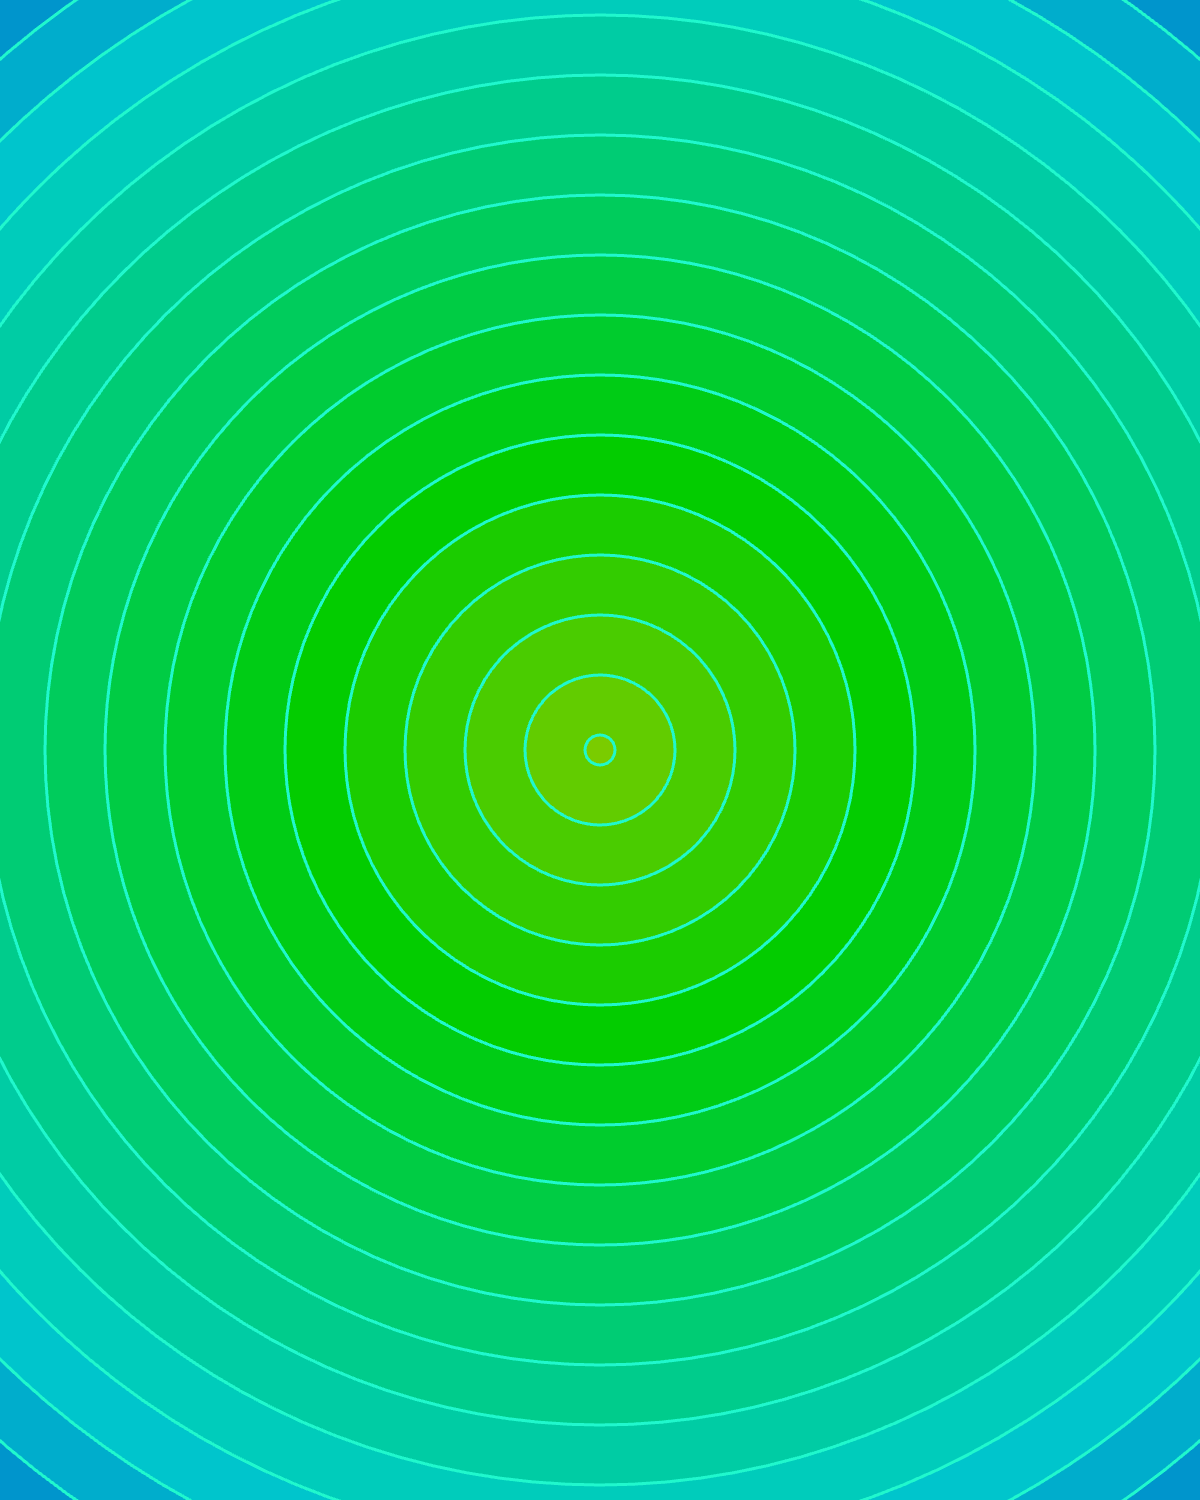
Let's enhance the draw function to include stroke settings. You can add this code right after setting the background color.
if (!props.hasStroke) {
  noStroke();
} else {
  stroke(props.strokeColor);
  strokeWeight(props.strokeWeightValue);
}
This is the result:
Now, go and play around with all the settings there. You will see you can create something quite unique just by tweaking some parameters. This is the beauty of art made with code!
Adding Text to the Canvas
Let’s enhance our artwork by adding an inspirational message.
First, we need to download a font and include it in our p5.js sketch. The preload function gets called once, before setup and draw. I used this font which you can find here. Once you download it, add it on the same folder with your sketch.js file.
let font;

function preload() {
  font = loadFont('LuckiestGuy-Regular.ttf');
}
We will create a function called addText which we will call from our draw function.
function addText() {
  textFont(font);
  textAlign(CENTER);
  textSize(50);
  stroke(255);
  strokeWeight(3);
  fill(props.baseColor);

  text("Stay focused!", width / 2, height / 1.15);
}
This function sets the font, alignment, size, and color of the text before displaying it at the specified position on the canvas. The text function writes "Stay focused!" centered horizontally and slightly above the bottom of the canvas.
We will also need to adjust the height of the circles by changing the second parameter for the circle function to height / 2.5.
So now we will have our final result

Next Steps
If we want to change anything about the styling or the text value, we would need to change the code.
But what if we make those parameters, like the font size, position, text value as settings that we can modify using the GUI we created. So this is what you can play and experiment with next.
Play around with all the settings we have on the GUI and post them here! I'm super curious what you created with it. Here are a few of mine.
Like always, you can find the full code here:
Wrapping Up
Thank you for following along with this tutorial! If you have any questions, feedback, or just want to share your own creations, please feel free to leave a comment below. I’ll make sure to respond and help you out as best as I can.
Stay connected for more exciting tutorials and creative coding tips by subscribing to this blog. I really appreciate it!
Happy coding, and see you in the next tutorial!
To stay informed about future articles, feel free to subscribe. It’s free, and your support means a lot. Thank you!
Next Tutorial
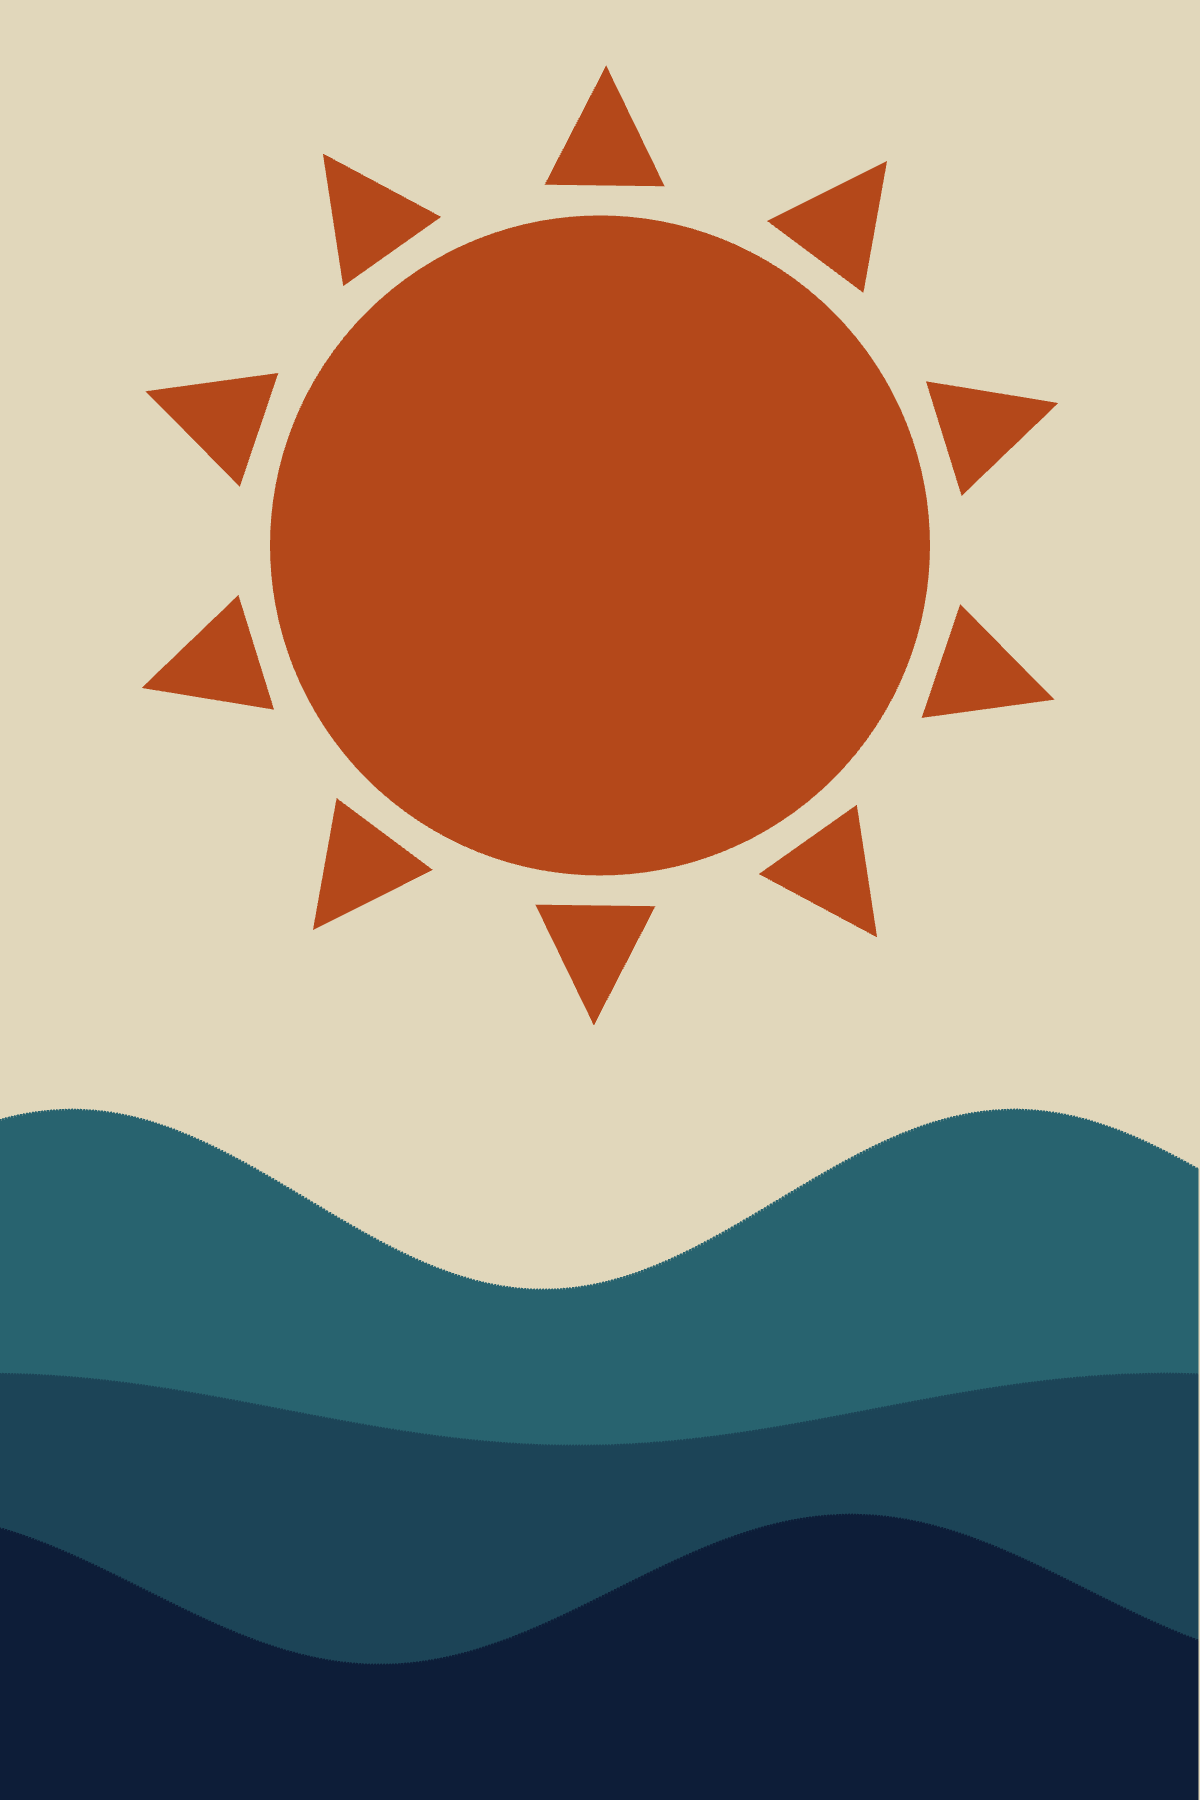
In the next tutorial, we’ll dive into creating a beautiful abstract art with sun and waves. We will be learning about polar coordinates, translate(), rotate(), push() and pull() p5.js functions and exploring more programming concepts. See you there!