Create Your First Digital Art with Code: A Step-by-Step Guide

Let's build your first digital art with code.
Starting with the Basics
As a starting place to write and create your first digital art pieces, I recommend using the official p5.js editor. Once you open the editor, you’ll see the code editor on the left side of the screen and the preview window on the right, which displays the results of running your code.
We begin with the basic template of setup() and draw() functions. Here’s a quick reminder from our previous tutorial, which you can find here:
The setup() function is called once at the beginning of the program to set up initial environment properties such as screen size and background color. The draw() function, on the other hand, is called continuously, multiple times per second, to render the visual elements of your program on the screen.
function setup() {
  createCanvas(400, 500);
}

function draw() {
  background(220);
}
Breaking Down the Artwork: Key Elements
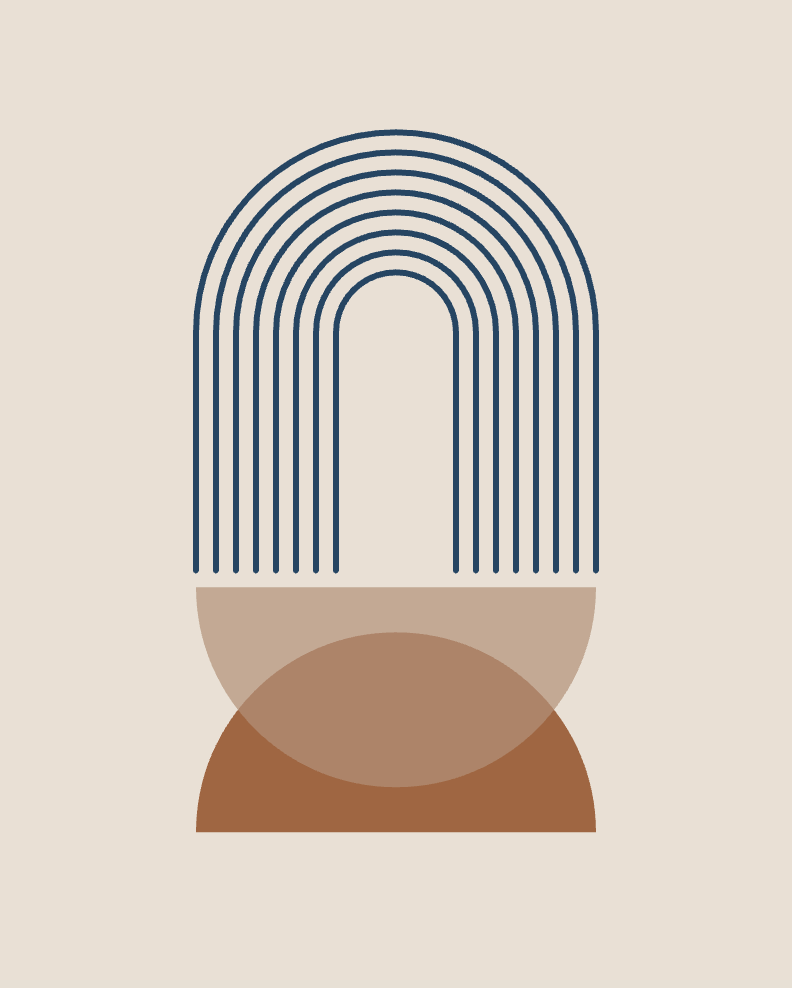
Upon closer inspection, we identify several key elements in this piece:
- The background color.
- Two overlapping semicircles, with the top one being slightly transparent.
- An arch on top, made of eight separate curves.
With this understanding, let’s create each element step-by-step.
Setting the Background Color
Moving forward, we will add all the described code inside the draw() function.
First, we set the background color using the background() function. You can pass basic color names like 'red', 'blue', 'green', or a hex RGB notation like '#e8e0d5'. For our art, we use this hex color:
background('#e8e0d5');
Drawing the Semicircles
In p5.js, every shape has two properties defining its color: the stroke (the outline) and the fill. We don’t need any strokes, so we use the noStroke() function.
To draw our first semicircle, we use these three lines of code:
noStroke();
fill('#9F6642');
arc(width / 2, height / 1.2, width / 2, width / 2, PI, TWO_PI);
The fill() function works like the background() function, allowing you to pass the color you want to fill the shape with in various formats.
The arc() function draws an arc, taking several parameters:
- The first two parameters are the arc center’s x and y coordinates (
width / 2andheight / 1.2). - The third and fourth parameters set the arc’s width and height (
width / 2andwidth / 2). - The fifth and sixth parameters set the angles to draw the arc between (
PIandTWO_PI), corresponding to 180 to 360 degrees in radians.
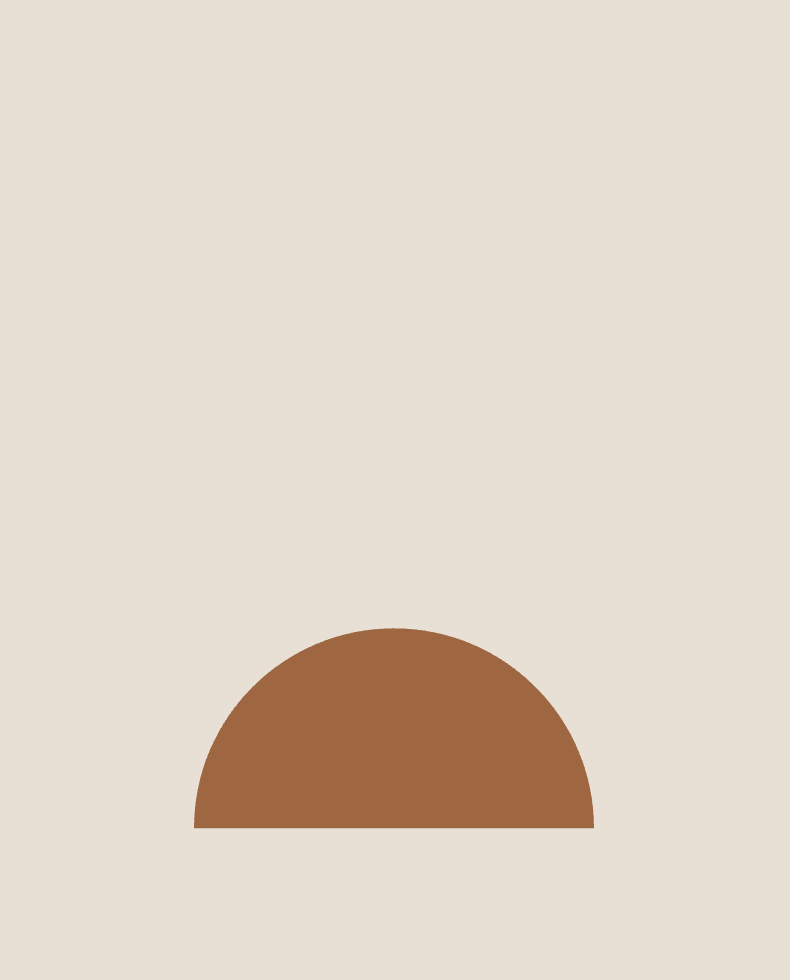
If we run our code now, we will get this. That’s a start!
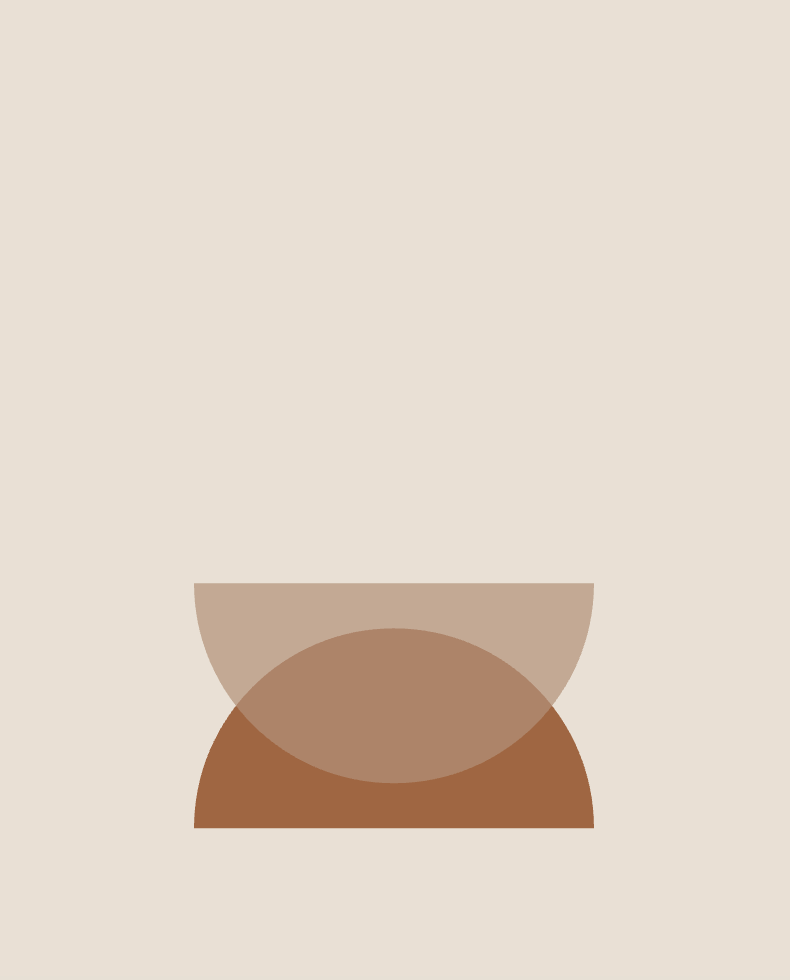
Adding the Second Semicircle
The second semicircle is drawn on top of the first one:
fill('#B39279B3');
arc(width / 2, height / 1.7, width / 2, width / 2, 0, PI);
Hexadecimal color is specified with #RRGGBB, where RR, GG, and BB are the values for red, green, and blue. To add transparency, add two additional digits (00 to FF) in front. Here, “B3” indicates approximately 70% opacity.
- The position is set by
width / 2andheight / 1.7, slightly higher than the first semicircle. - The width and height are the same (
width / 2). - The angles (
0andPI) draw from 0 to 180 degrees.
Creating the Arch
First, let's add the variables that we need at the beginning of the file, on top of the setup function:
// Define spacing and dimensions for the lines and arches
let lineGap = 10;
let archGap = lineGap * 2;
let archRadius = 60;
let lineOffset = archRadius / 2;
let archNumber = 8;
For the final element, the arch, we use a for loop to draw multiple segments, creating a smooth curve. We define the style and number of arches with archNumber.
// Define the style by setting the color and weight of the lines
stroke('#264563');
strokeWeight(3);
noFill(); // Ensure the arcs are not filled

for (let i = 0; i < archNumber; i++) {
    line(width / 2 - (i * lineGap) - lineOffset, height / 1.75, width / 2 - (i * lineGap) - lineOffset, height / 3);
    line(width / 2 + (i * lineGap) + lineOffset, height / 1.75, width / 2 + (i * lineGap) + lineOffset, height / 3);
}
The line() function accepts four parameters: the x and y coordinates for the start and end points. The first line draws the left segment, and the second line draws the right segment.
For the arch, we use the arc() function:
arc(width / 2, height / 3, archRadius + i * archGap, archRadius + i * archGap, PI, TWO_PI);
Ensure the arc is not filled by calling noFill(). The final code looks like this:
stroke('#264563');
strokeWeight(3);
noFill();

for (let i = 0; i < archNumber; i++) {
    line(width / 2 - (i * lineGap) - lineOffset, height / 1.75, width / 2 - (i * lineGap) - lineOffset, height / 3);
    line(width / 2 + (i * lineGap) + lineOffset, height / 1.75, width / 2 + (i * lineGap) + lineOffset, height / 3);
    arc(width / 2, height / 3, archRadius + i * archGap, archRadius + i * archGap, PI, TWO_PI);
}

Congratulations! You have created your first piece of digital art with code!
I am proud of you and you should be too!
Your Turn to Experiment
The full code together with the result can be found here:
An important part of learning is to experiment and play around. Familiarize yourself with the concepts we discovered today by:
- Changing the color palette inside the
fill(),background(), andstroke()functions. - Modifying variables defined at the beginning (
archNumber,lineGap,archRadius). - Making any other changes you want.
You’ll quickly see that you can create something unique from this example.
Don’t miss any new posts — subscribe for free! It really helps me out, and I’d love to have you along. Thanks!
Next Tutorial
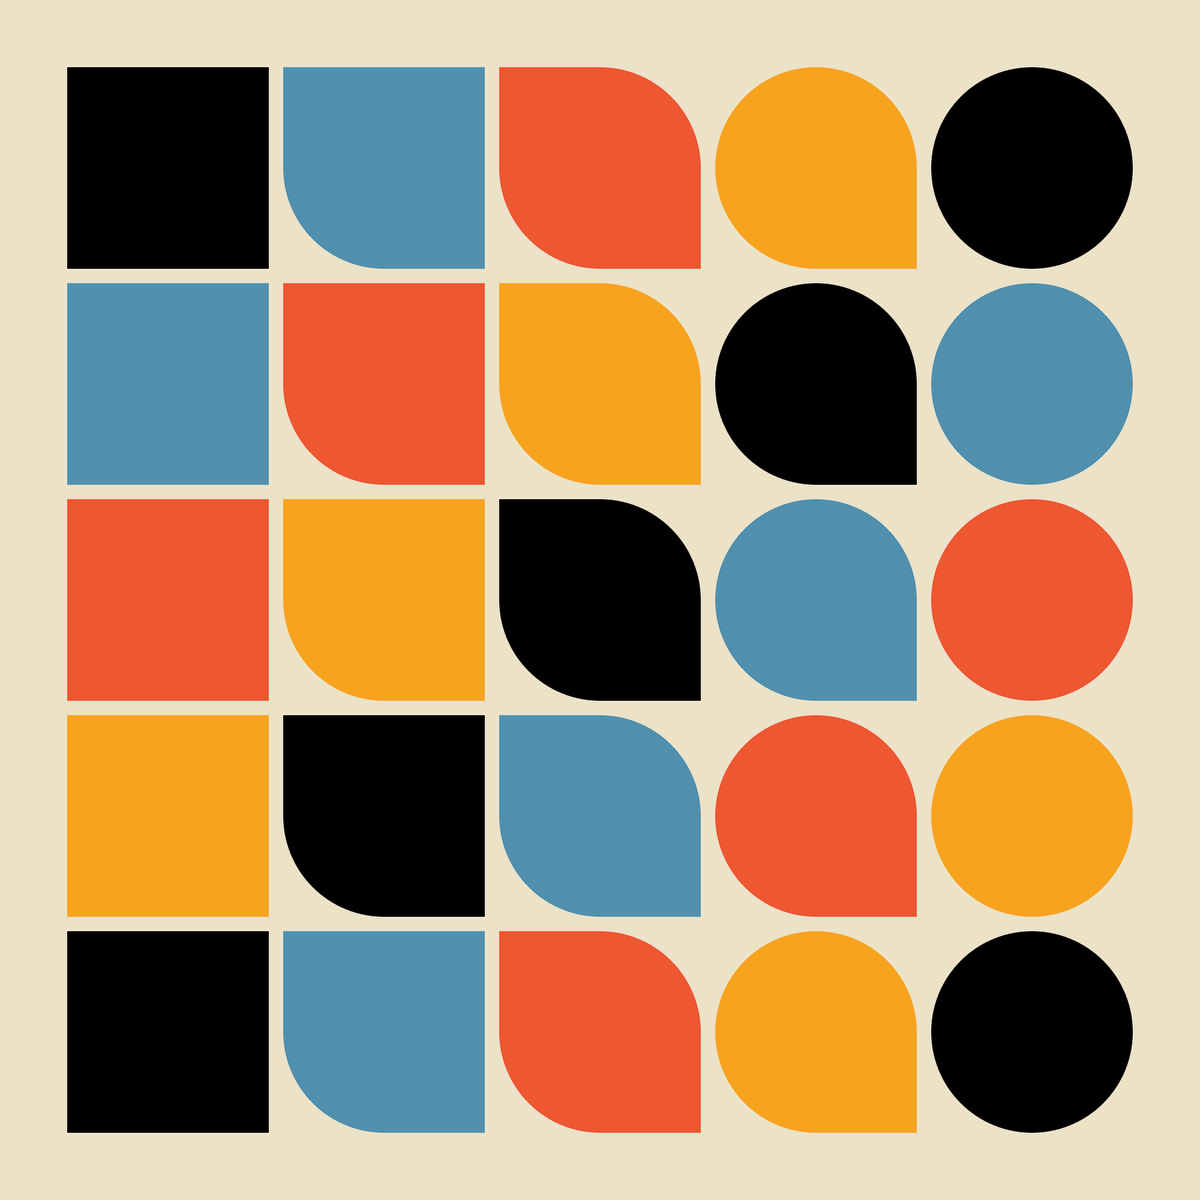
In the next tutorial, we’ll explore the translate(), rect(), and other programming concepts while creating this beautiful Bauhaus-inspired abstract art.
Wrapping up
Thank you for following along with this tutorial! If you have any questions, feedback, or just want to share your own creations, please feel free to leave a comment below. I’ll make sure to respond and help you out as best as I can.
Stay connected for more exciting tutorials and creative coding tips by subscribing to this blog. I really appreciate it!
Happy coding, and see you in the next tutorial!