Creating Stylized Waves with p5.js: A Creative Coding Tutorial


Hello and welcome to another exciting creative coding tutorial! Today, we will dive into the world of stylized waves using p5.js. This tutorial is perfect for beginners and seasoned coders alike. We’ll be exploring two powerful features of p5.js: noise and random. Thanks to these, every time you run your code, your artwork will be unique, yet maintain the same artistic style. This is where the magic of generative art truly shines.
Breaking Down the Process
To get started, let's break our project down into simpler steps. Before we create diagonal, curvy lines, we'll start with straight lines of different colors, spaced evenly apart.
Step 1: Defining Colors
First, we'll define a color palette for our waves:
const colors = [
  "#ecd2b0",
  "#efcea5",
  "#e7b987",
  "#e0ab84",
  "#e7eceb",
  "#72adc5",
  "#3783af",
  "#06649c",
  "#0258a3",
  "#0452a8"
];
Step 2: Setting Up the Canvas
Next, we’ll set up our canvas. The setup function runs once and prepares the canvas for drawing:
function setup() {
    createCanvas(400, 500);
    noLoop();
}
Step 3: Drawing Straight Lines
Now, let's work on our draw function. We’ll start by defining the space between the lines.
We want equal spacing between them so for that we can just divide the total width of the canvas to the number of lines we have. We will use the colors variable length since we will draw one line with one color.
So our spaceBetween variable can be defined like this:
let spaceBetween = width / (colors.length - 1);
Let’s get started with drawing our lines. We’ll draw them from the right side of the canvas to the left, ensuring that each new wave overlaps the previous one. We’ll iterate from the last color in our palette to the first, creating horizontal lines from left to right for each wave. Here’s how the code looks:
function draw() {
    background(colors[colors.length - 1]);
    let spaceBetween = width / (colors.length - 1);
    let curveWidth;
    for (let i = colors.length - 1; i >= 0; i--) {
        stroke(colors[i]);
        curveWidth = i * spaceBetween;
        for (let j = 0; j < height; j++) {
            let y = j;
            line(0, y, curveWidth, y);
        }
    }
}
In our code, we use two nested for loops. The outer loop iterates over the colors, determining the number of waves to draw. The inner loop is responsible for drawing each wave by calling the line function. It draws horizontal lines from left to right, moving down one step at a time. As a result, our canvas will look like this:
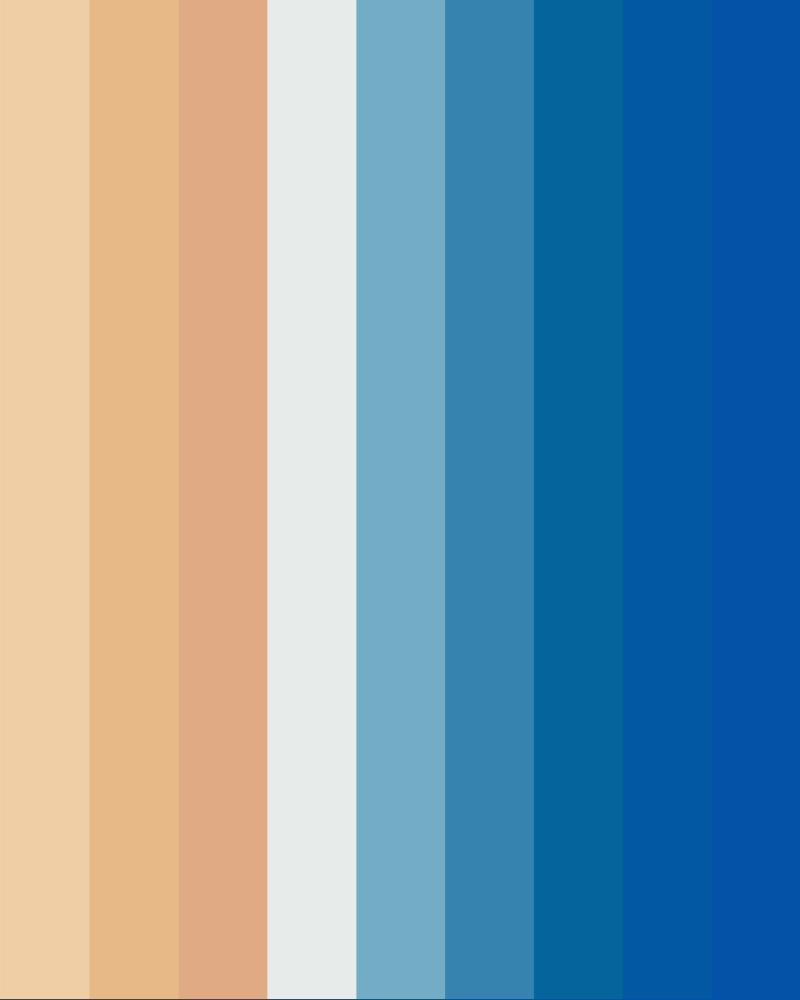
This is quite nice already :) . Good job!
To better visualize what’s happening under the hood, let’s add a small delay between each line being drawn so we see the process.

Adding Curviness with Noise
Now, let’s look at how we can add some “curviness” to those lines, to make them look more like waves. To do this, we will use the mighty noise function.
Noise is a very powerful tool used in a lot of places. For short, what it does, is it returns semi-random values for given inputs. The trick with this is that for very close inputs it returns very close outputs as well, making things look more organic and more realistic. We will see it at work now.
Step 4: Drawing Curvy Waves
We’ll start by isolating the wave-drawing logic into a new function called drawWaveWithNoise(curveWidth).
Here, we want the values on the x-axis to change, based on the noise, so we will get a curvy line instead of a straight one.
First, we need to prepare the input for the noise function. We want our input to be quite small, so the changes given by the noise function are also small. For that, we need to define two more variables, a noiseLevel and a noiseScale. Let’s use some arbitrary values for now of 50 and 0.01.
We want our noise input to slightly change every time we pass it to the noise function so our noiseInput will be noiseScale * j
function drawWaveWithNoise(curveWidth) {
    let noiseLevel = 50;
    let noiseScale = 0.01;
      // iterate over every pixel, from the top to the bottom and draw lines
    for (let j = 0; j < height; j++) {
        let y = j;
        let noiseInput = noiseScale * j;
        let x = noiseLevel * noise(noiseInput);
        line(x, y, x + curveWidth, y);
    }
}
Running this function gives us a more interesting visual effect:
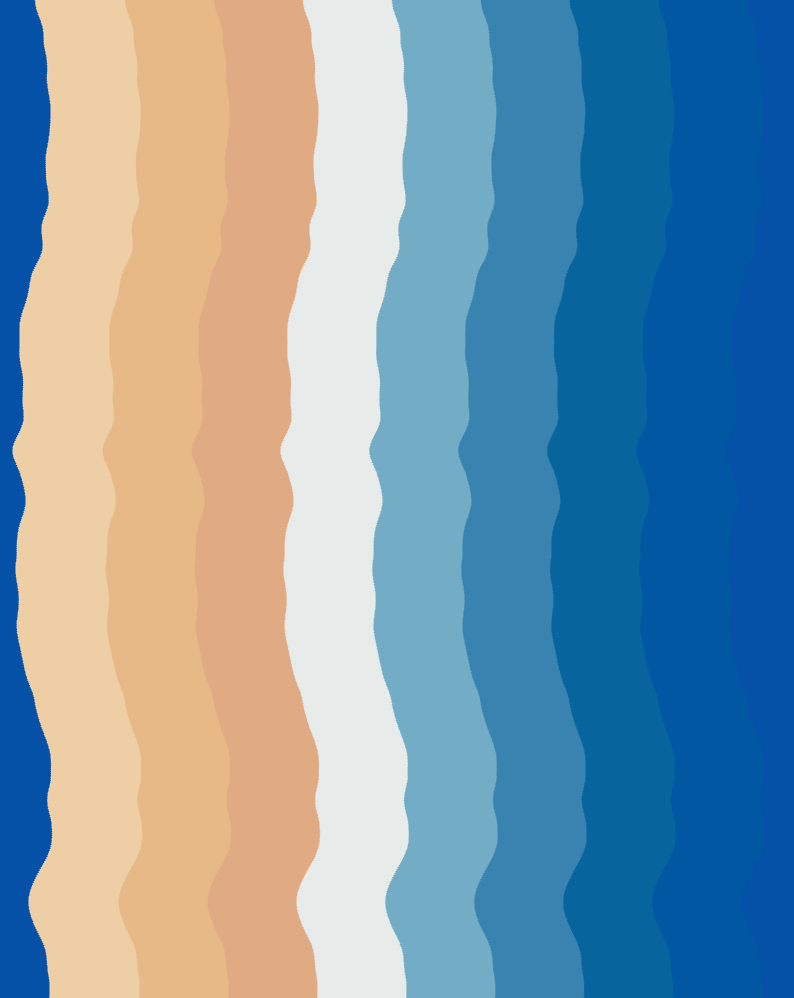
Nice! Progress but not there yet.
Enhancing Uniqueness with Random
You see that all waves do not follow the same curve. That’s because for our noiseInput we use the same value every time. To improve this, we can randomly choose a value between a range, so that each wave is different. Also, by calling the noiseSeed() after every wave, with different values, we make sure they will be more unique.
function drawWaveWithNoise(curveWidth) {
    let noiseLevel = random(70, 110);
    let noiseScale = random(0.004, 0.008);
    noiseSeed(random(0, 1000));
    for (let j = 0; j < height; j++) {
        let y = j;
        let noiseInput = noiseScale * j;
        let x = noiseLevel * noise(noiseInput);
        line(x, y, x + curveWidth, y);
    }
}
This will produce even more diverse and interesting wave patterns:
Creating Diagonal Waves
Cool! We also want them to be diagonal so for this we need to subtract bigger and bigger values from the x variable:
function drawWaveWithNoise(curveWidth) {
    let noiseLevel = random(70, 110);
    let noiseScale = random(0.004, 0.008);
    noiseSeed(random(0, 1000));
    for (let j = 0; j < height; j++) {
        let y = j;
        let noiseInput = noiseScale * j;
        let x = (noiseLevel * noise(noiseInput)) - (j * 0.5);
        line(x, y, x + curveWidth, y);
    }
}
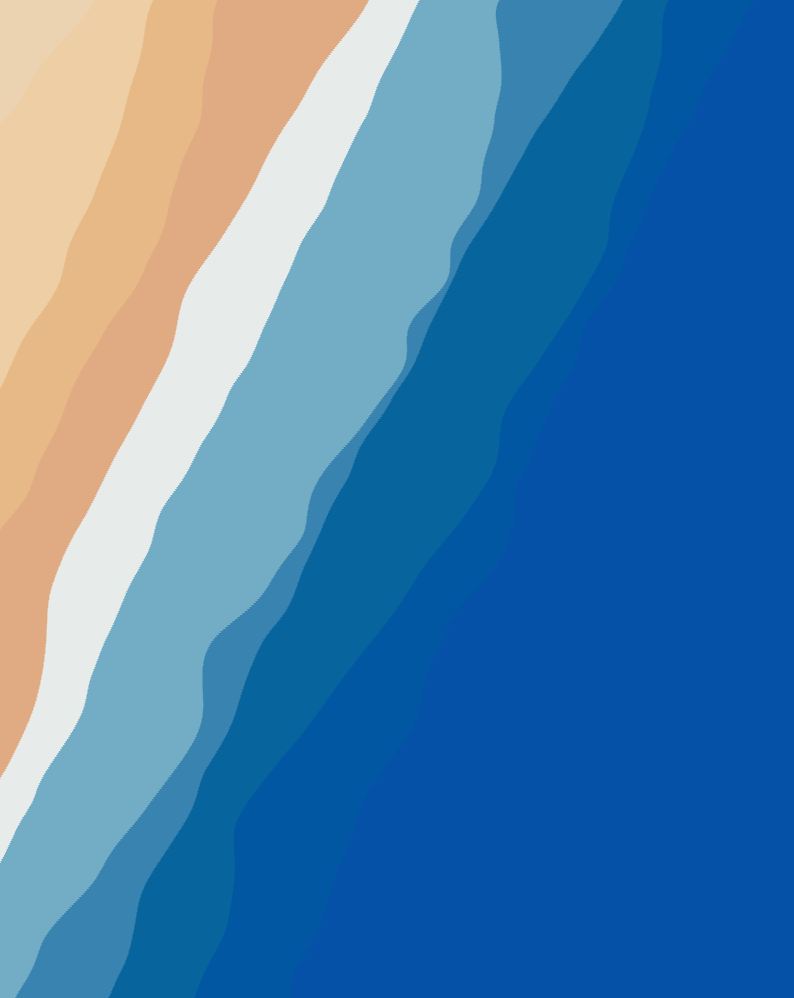
Something Extra: Adding Importance to Colors
Now, let’s make it extra nice. If you look at this, you see that every color has an equal spacing between them. In other words, every color is taking up the same amount of space in the canvas ( if we don’t take into consideration the differences between different noises that each wave is having).
But what if we want that decide that one color should take more space than others? Maybe we want more sand in the image or different distributions between them. We can make this happen.
First, we need to assign an “importance” for each color which will represent how much space one color should take in relation to the others. So let’s change our color array in an object with these properties
const colors = [
    { "color": "#ecd2b0", "importance": 4 },
    { "color": "#efcea5", "importance": 1 },
    { "color": "#e7b987", "importance": 3 },
    { "color": "#e0ab84", "importance": 2 },
    { "color": "#e7eceb", "importance": 2 },
    { "color": "#72adc5", "importance": 2 },
    { "color": "#3783af", "importance": 2 },
    { "color": "#06649c", "importance": 2 },
    { "color": "#0258a3", "importance": 2 },
    { "color": "#0452a8", "importance": 2 }
];
Then, we have to find out what one importance point means related to the width of the canvas, so how many pixels of the width one importance point is taking.
    // calculate importance point to width
    importanceTotal = 0;
    importanceArr = [];
    for (let i = colors.length - 1; i >=0; i--) {
        importanceTotal += colors[i].importance;
        importanceArr[i] = colors[i].importance;
    }
    importancePointToPixel = width / importanceTotal;
We are also creating an importance array with all the values that we will use next.
Because we draw the canvas from the right to the left, we need to be able to know how much space each wave will need. To do this, we will use a technique called a prefix sum. A prefix sum of an array is another array where each element is the sum of all the previous elements, including the current one. You can read more about it on the Wikipedia page. We will define this function as such:
function fillPrefixSum(arr) {
    let prefixSum = [];
    prefixSum[0] = arr[0];
    for (let i = 1; i < arr.length; ++i) {
        prefixSum[i] = prefixSum[i - 1] + arr[i];
    }
    return prefixSum;
}
Now, in our draw() function, we will call this function and pass the result to the drawWaveWithNoise function
...
importancePointToPixel = width / importanceTotal;
prefixSum = fillPrefixSum(importanceArr);
for (let i = colors.length - 1; i >= 0; i--) {
stroke(colors[i].color);
await drawWaveWithNoise(prefixSum[i] * importancePointToPixel);
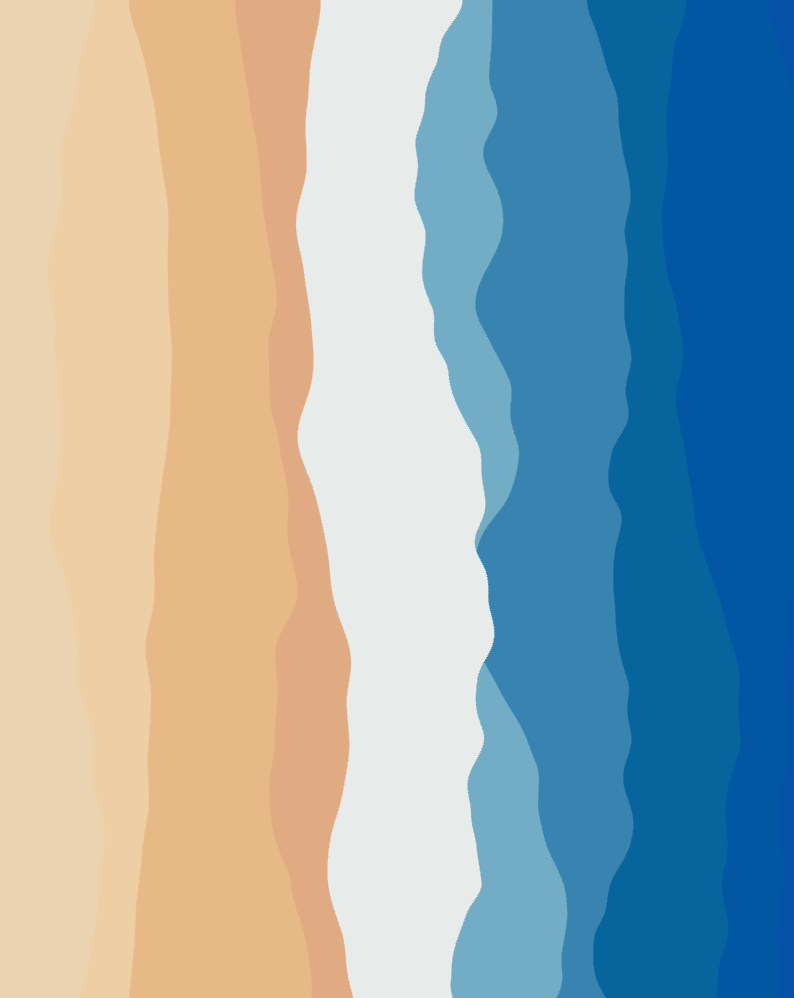
}Let’s look at a few results where I changed the importance parameters.
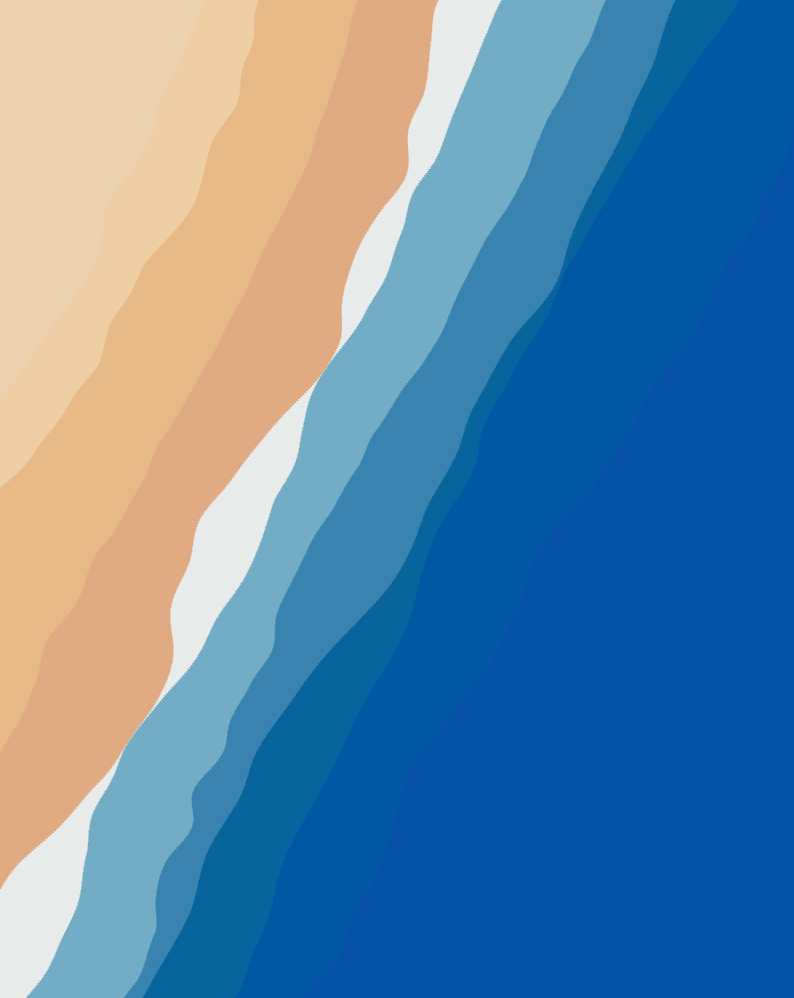
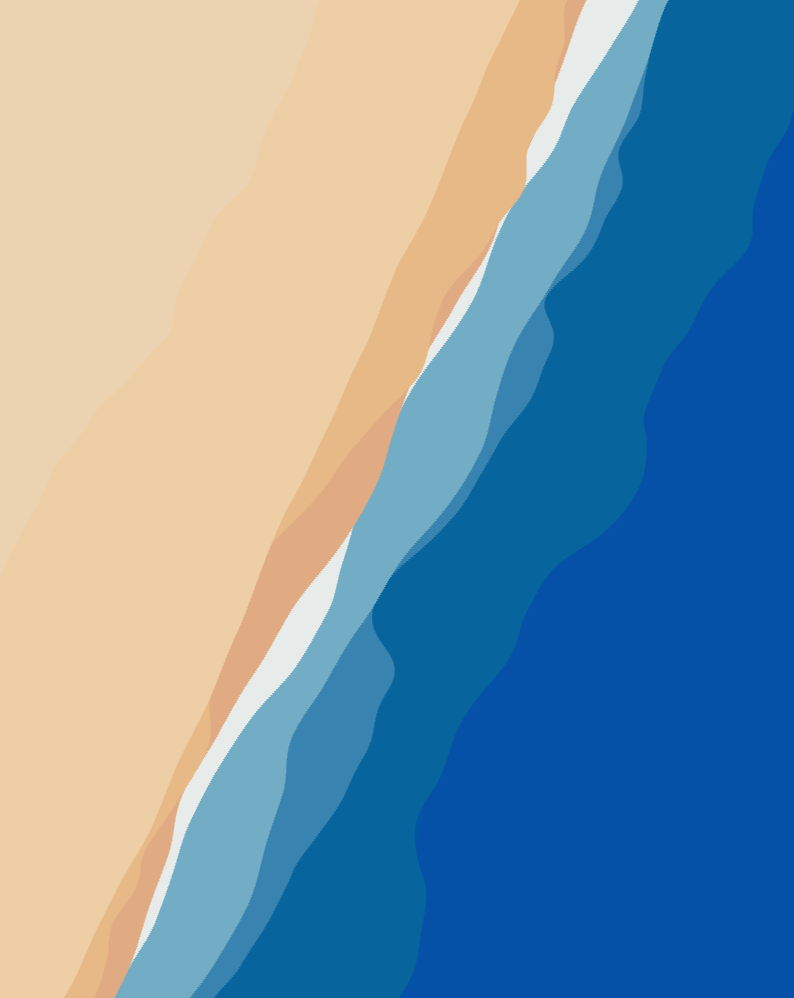
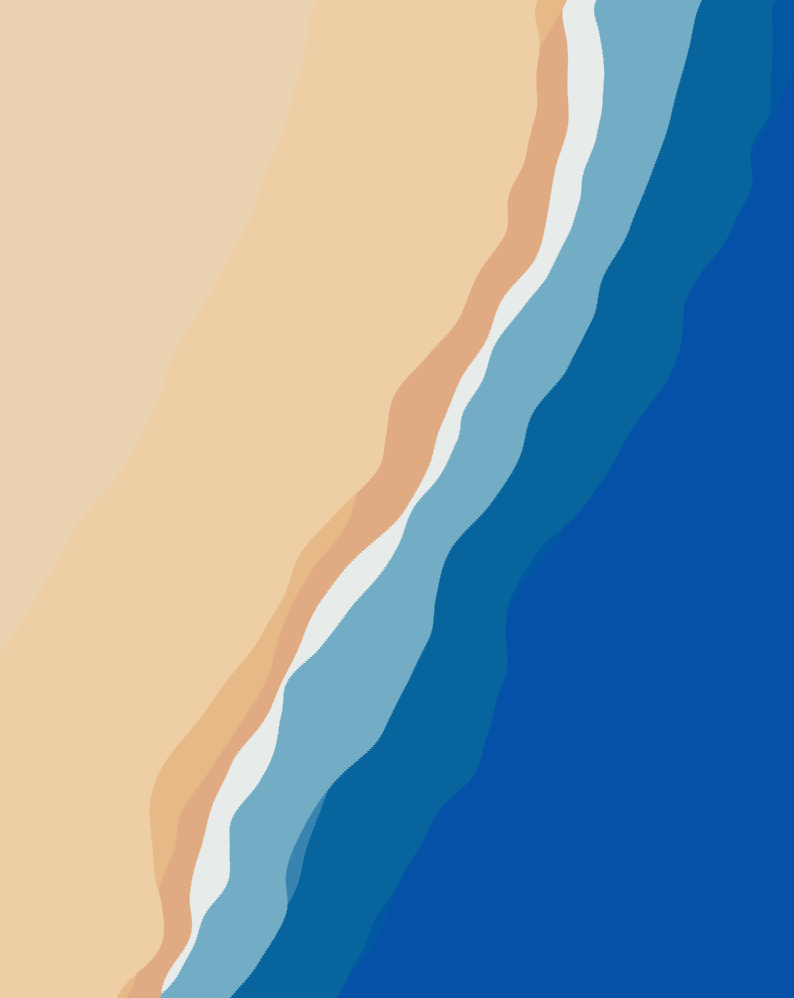
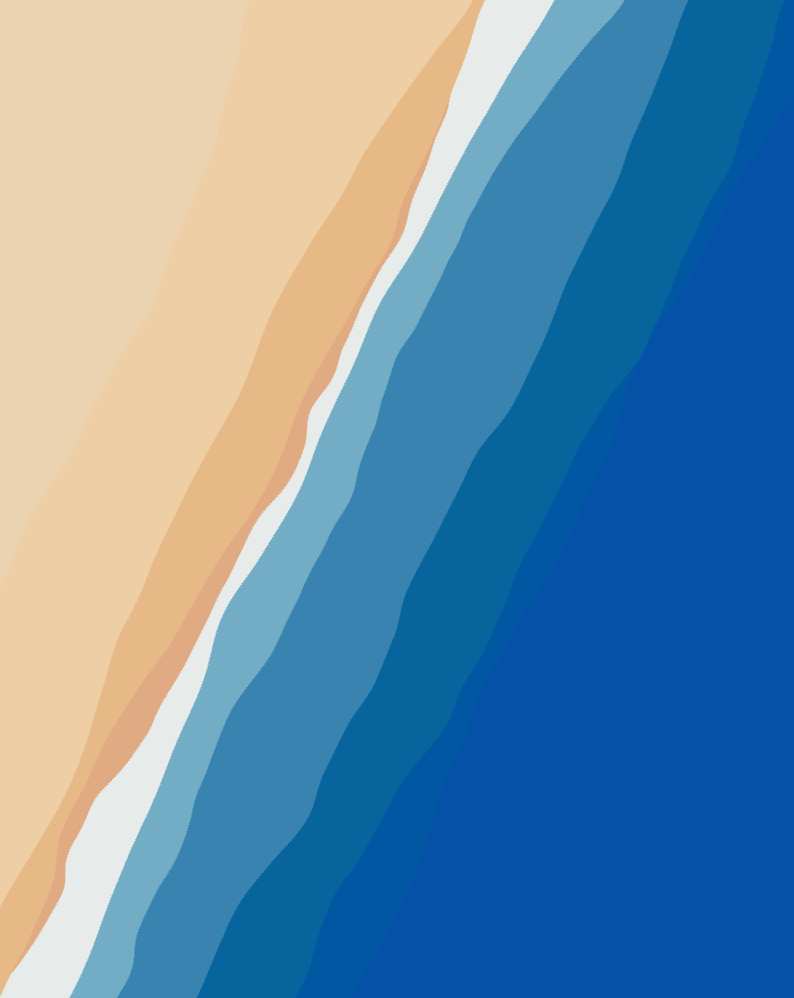
Now, different colors take up a different amount of space in the canvas
Animating the Waves
We can animate this in a simple way, the same way we did in the previous tutorial, by calling a sleep function after each wave is drew.
Experiment and Explore
You can make this art your own by:
- Changing the color palette
- Adjusting the number of colors (and waves)
- Tinkering with the importance of each color
- Tweaking the noise values
Like always, the full code can be found here
Wrapping Up
Thank you for following along with this tutorial! If you have any questions, feedback, or just want to share your own creations, please feel free to leave a comment below. I’ll make sure to respond and help you out as best as I can.
Stay connected for more exciting tutorials and creative coding tips by subscribing to this blog. I really appreciate it!
Happy coding, and see you in the next tutorial!
Want to stay updated with new articles? Just hit subscribe — it’s completely free, and I’d really appreciate the support. Thanks a lot!
Next Tutorial
In the next tutorial, we’ll dive into creating a more complex piece of art using additional p5.js functions and exploring more programming concepts. See you there!