Drawing Fractals with L-Systems in p5.js: A Creative Coding Tutorial

Hello friends, and welcome to another creative coding tutorial! Today, we’re going to draw beautiful fractal forms with L-systems and p5.js.
L-systems are one of those beautiful creative coding ideas where a tiny bit of text can grow into branches, curves, triangles, snowflakes, and all kinds of organic-looking structures. We’ll start with a small string, rewrite it again and again, and then use turtle graphics to draw the result on the canvas.
By the end of this article, you will:
- understand what an L-system is
- learn how to expand an axiom with rewrite rules
- draw the generated string with turtle graphics
- fit the final drawing nicely on the canvas
- animate the fractal as it appears line by line
Before you start this tutorial, consider signing up to get future articles like this sent straight to your inbox. Thanks!
Let’s dive in. But first, let's play around with what we are going to create by the end of this tutorial, by tweaking the controls from the left side of the screen (visible on the website only).
What Is an L-System?
An L-system, short for Lindenmayer system, is a way to describe growth using text rules.
We begin with an initial word called an axiom. Then we apply a set of replacement rules over and over. Each round is called an iteration.
Here is a tiny example:
Axiom: F
Rule:  F=F+F-F
After one iteration, F becomes F+F-F.
After another iteration, every F gets replaced again:
F+F-F
becomes:
F+F-F+F+F-F-F+F-F
This looks like a strange little sentence, but we can turn it into drawing instructions:
Fmeans “move forward and draw a line”+means “turn right”-means “turn left”
That’s the core idea. We grow a string, then we draw it.
You’re not placing every branch by hand — you’re designing a system that grows the drawing for you.
What We’re Building
We’re going to build a p5.js sketch that:
- starts from an axiom
- expands that axiom with rewrite rules
- turns the final string into turtle graphics commands
- stores those commands as line segments
- scales and centers the result on the canvas
- animates the drawing one segment at a time
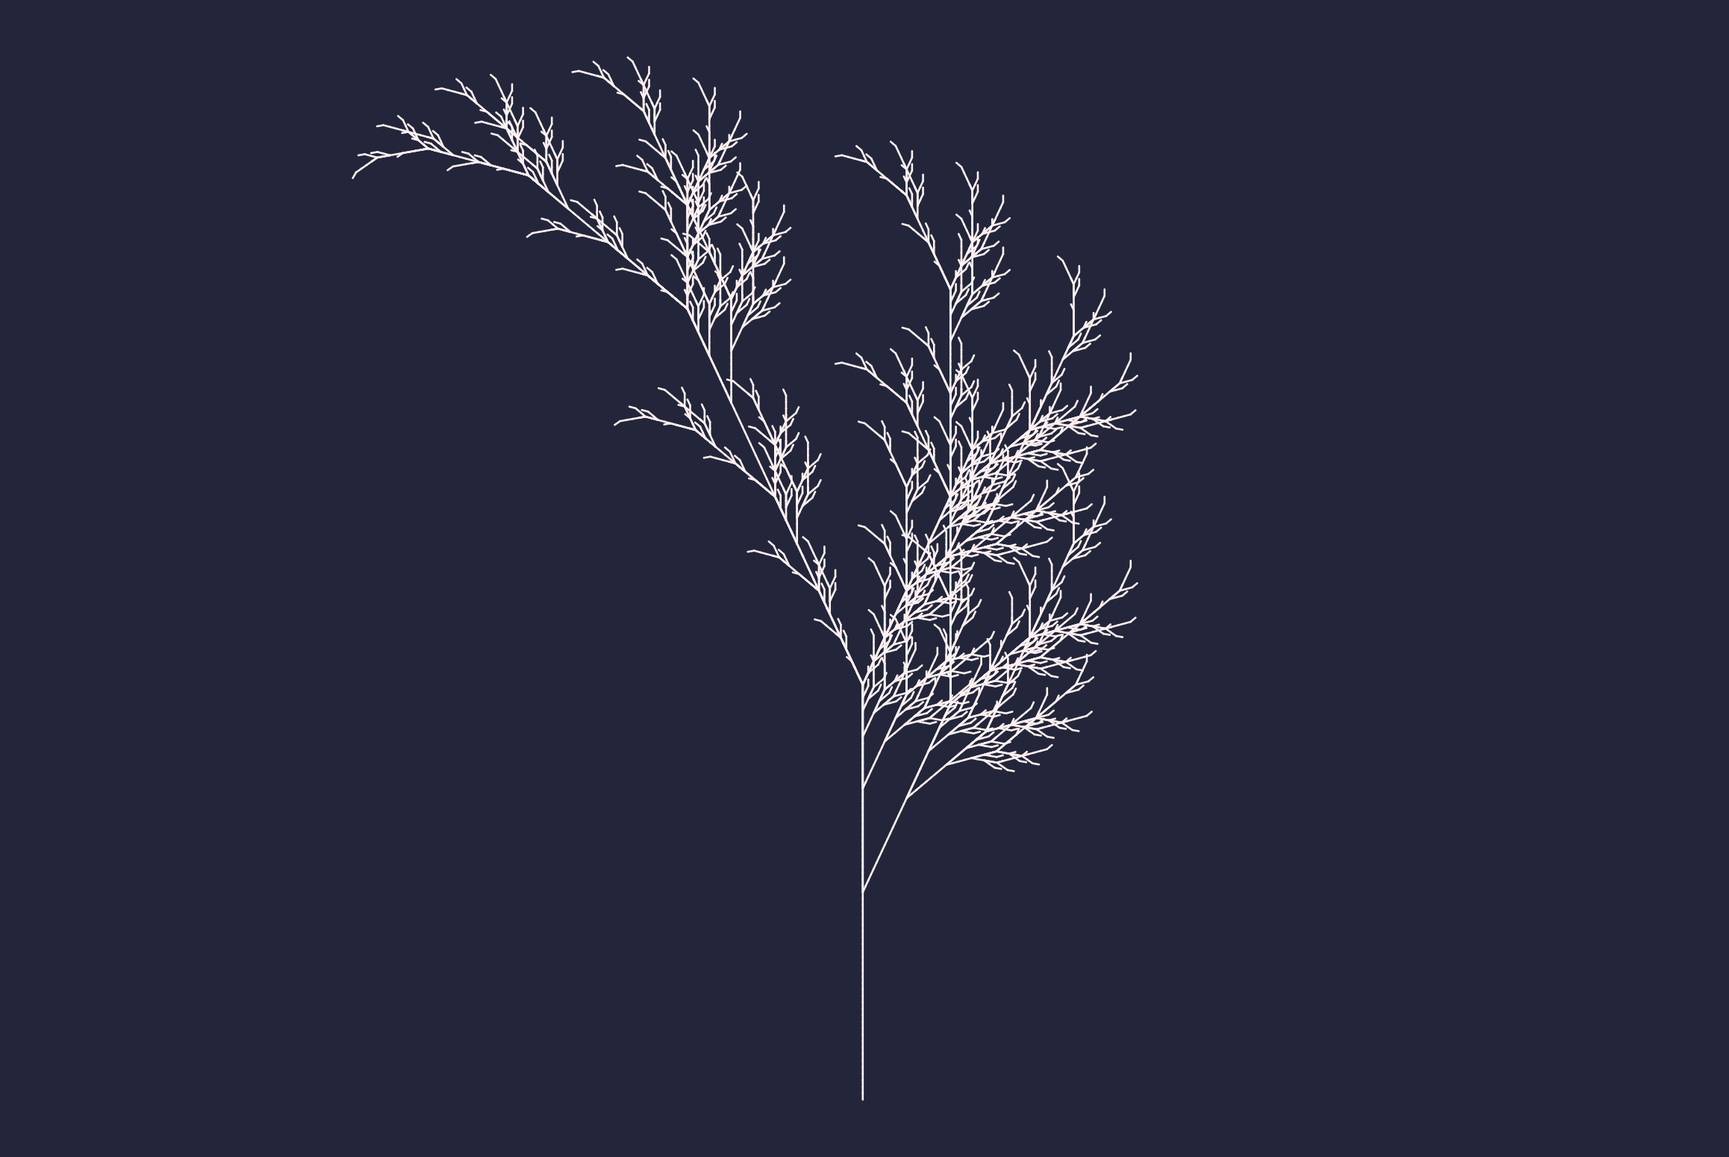
The finished sketch uses the classic fractal plant L-system, but the same code can also draw Koch curves, Sierpinski triangles, dragon curves, and many other rule-based structures.
That’s the magic of generative art: small textual changes can create very different visual results.
Defining Our L-System
Let’s start with the rules for a classic fractal plant.
const axiom = 'X';
const rulesText = `X=F+[[X]-X]-F[-FX]+X
F=FF`;
const iterations = 6;
const angle = 25;
const drawSpeed = 40;
Here’s what each value means:
axiom— the starting string.rulesText— the replacement rules, one per line.iterations— how many times we apply the rules.angle— how far the turtle turns.drawSpeed— how many line segments we reveal per frame.
The plant rule is especially fun because it uses brackets: [ and ]. Those symbols let the turtle save and restore its position, which is how we get branching structures.
Nice!
Parsing the Rules
Our rules are written as plain text, one rule per line:
X=F+[[X]-X]-F[-FX]+X
F=FF
We need to turn this text into a JavaScript object.
function parseRules(text) {
  const rules = {};
  const lines = text.split('\n');

  for (const line of lines) {
    const t = line.trim();
    if (!t || t.startsWith('#')) continue;

    const eq = t.indexOf('=');
    if (eq <= 0) continue;

    const key = t.slice(0, eq).trim();
    const val = t.slice(eq + 1).trim();

    if (key.length) rules[key] = val;
  }

  return rules;
}
Here’s what happens:
split('\n')breaks the text into separate lines.trim()removes extra spaces.- Empty lines and comment lines are ignored.
indexOf('=')finds where the left side ends and the right side begins.rules[key] = valstores the replacement.
So this:
F=FF
X=F+X
becomes this:
{
  F: 'FF',
  X: 'F+X'
}
Now our sketch can understand the text rules we defined at the top of the file.
Expanding the L-System
Next, we need a function that starts with an axiom and applies the rules several times.
function expand(axiom, rules, iterations) {
  let s = axiom;
  const keys = Object.keys(rules).sort((a, b) => b.length - a.length);

  for (let n = 0; n < iterations; n++) {
    let next = '';

    for (let i = 0; i < s.length; ) {
      let matched = false;

      for (const k of keys) {
        if (s.startsWith(k, i)) {
          next += rules[k];
          i += k.length;
          matched = true;
          break;
        }
      }

      if (!matched) {
        next += s[i];
        i += 1;
      }
    }

    s = next;
  }

  return s;
}
Let’s unpack it:
sstores the current string.keysstores all rule names, sorted from longest to shortest.- For each iteration, we build a new string called
next. - At each position, we check if one of the rule keys matches.
- If a rule matches, we add its replacement.
- If no rule matches, we keep the original character.
That last part is important. Symbols like +, -, [, and ] usually do not have rewrite rules. They pass through unchanged so they can be used later by the turtle.
This function is where the growth happens. A small axiom can become thousands of drawing commands after only a few iterations.
Turtle Graphics
Now we have a generated string. Time to draw it.
We’ll use turtle graphics, which is a friendly way to think about drawing. Imagine a tiny turtle standing on the canvas. It has:
- an
xposition - a
yposition - a heading, which means the direction it is facing
Then we feed it commands:
ForG— move forward and drawforg— move forward without drawing+— turn one way-— turn the other way|— turn around[— save the current position and heading]— restore the last saved position and heading
This is perfect for L-systems because the generated string is already a list of instructions.
Building Line Segments
Instead of drawing immediately, we’ll convert the string into an array of line segments.
This makes animation easier because we can draw the first few segments, then a few more, then a few more.
function buildSegments(str, angleDeg, stepLen, startX, startY, startHeading) {
  const segs = [];
  const stack = [];
  let x = startX;
  let y = startY;
  let heading = startHeading;
  const rad = (angleDeg * Math.PI) / 180;

  for (let i = 0; i < str.length; i++) {
    const c = str[i];

    if (c === 'F' || c === 'G') {
      const nx = x + stepLen * Math.cos(heading);
      const ny = y + stepLen * Math.sin(heading);
      segs.push({ x1: x, y1: y, x2: nx, y2: ny, depth: stack.length });
      x = nx;
      y = ny;
    } else if (c === 'f' || c === 'g') {
      x += stepLen * Math.cos(heading);
      y += stepLen * Math.sin(heading);
    } else if (c === '+') {
      heading += rad;
    } else if (c === '-') {
      heading -= rad;
    } else if (c === '|') {
      heading += Math.PI;
    } else if (c === '[') {
      stack.push({ x, y, heading });
    } else if (c === ']') {
      const st = stack.pop();
      if (st) {
        x = st.x;
        y = st.y;
        heading = st.heading;
      }
    }
  }

  return segs;
}
Here’s how it works:
segsstores all line segments.stackstores saved turtle states for branching.headingis measured in radians, becauseMath.sin()andMath.cos()use radians.- For
FandG, we calculate a new point and store a line from the old point to the new point. - For
fandg, we move without storing a line. - For
+and-, we rotate the turtle. - For
[we save the current state. - For
]we go back to the last saved state.
The small formulas:
nx = x + stepLen * cos(heading)
ny = y + stepLen * sin(heading)
mean “walk forward in the direction we’re currently facing.”
If that feels new, don’t worry. You can think of cos() as controlling the horizontal movement and sin() as controlling the vertical movement.
Fitting the Drawing on the Canvas
Different L-systems create different shapes. Some grow upward like plants. Some spread sideways. Some curl into squares or triangles.
So before we draw the final version, we measure the generated segments.
function boundsOfSegments(segs) {
  if (!segs.length) return { minX: 0, minY: 0, maxX: 1, maxY: 1 };

  let minX = Infinity;
  let minY = Infinity;
  let maxX = -Infinity;
  let maxY = -Infinity;

  for (const s of segs) {
    minX = Math.min(minX, s.x1, s.x2);
    minY = Math.min(minY, s.y1, s.y2);
    maxX = Math.max(maxX, s.x1, s.x2);
    maxY = Math.max(maxY, s.y1, s.y2);
  }

  return { minX, minY, maxX, maxY };
}
This function finds the smallest rectangle that contains the whole drawing.
Then we use that rectangle to scale and center the final result:
function recompute() {
  const rules = parseRules(rulesText);
  const str = expand(axiom, rules, iterations);
  lastStringLen = str.length;

  let temp = buildSegments(str, angle, 1, 0, 0, -Math.PI / 2);
  const b = boundsOfSegments(temp);

  const w = width - 40;
  const h = height - 40;
  const bw = b.maxX - b.minX || 1;
  const bh = b.maxY - b.minY || 1;
  const scale = Math.min(w / bw, h / bh) * 0.95;

  const cx = (b.minX + b.maxX) / 2;
  const cy = (b.minY + b.maxY) / 2;
  const ox = width / 2 - cx * scale;
  const oy = height / 2 - cy * scale;

  segments = buildSegments(str, angle, scale, ox, oy, -Math.PI / 2);
  needsRecompute = false;
}
In this function we:
- parse the rules
- expand the L-system string
- store the string length in
lastStringLen - build temporary segments with a step length of
1 - measure the bounds
- calculate a scale that fits inside the canvas
- calculate an offset that centers the drawing
- build the final segments using the real scale and offset
This is why the dragon curve, Sierpinski triangle, and plant can all share the same canvas without flying offscreen.
Almost there!
Setting Up p5.js
Now let’s create the p5.js canvas and prepare the line segments.
let segments = [];
let segIndex = 0;
let lastStringLen = 0;
let needsRecompute = true;

function setup() {
  createCanvas(600, 600);
  pixelDensity(3);
  recompute();
}
Let’s break this down:
segmentsstores the line segments we draw.segIndextracks how much of the drawing has been animated.lastStringLenstores the generated string length, which is useful while experimenting.needsRecomputetells us when the line segments should be rebuilt.createCanvas()creates the p5.js canvas.pixelDensity()makes the drawing look crisp on high-resolution screens.recompute()builds the first set of line segments before we start drawing.
If you are new to p5.js, setup() runs once when the sketch starts. It is the perfect place to create the canvas, set the pixel density, and prepare the first drawing.
Drawing the Fractal
The draw() function is where the sketch comes alive.
In p5.js, draw() runs again and again, usually around 60 times per second.
function draw() {
  if (needsRecompute) recompute();

  background(35, 38, 58);

  const target = Math.min(segIndex + drawSpeed, segments.length);

  strokeWeight(max(1, width / 480));

  for (let i = 0; i < target; i++) {
    const s = segments[i];
    stroke(255, 186, 6, 230);
    line(s.x1, s.y1, s.x2, s.y2);
  }

  if (target < segments.length) {
    segIndex = target;
  }
}
Here’s what happens:
- If something changed,
recompute()rebuilds the L-system. background()clears the canvas with the background color.drawSpeedcontrols how many segments we reveal per frame.targetis the current number of visible segments.- The
forloop draws every visible segment withline(). segIndexincreases until the full drawing is visible.
The animation is very simple, but it makes a huge difference. Instead of instantly seeing a finished fractal, we can watch the system draw itself.
Math magic! Great work so far.
Why This Matters for Creative Coding
L-systems are a wonderful reminder that creative coding is often about rules, not individual marks.
We do not draw every branch of the plant. We do not place every side of the triangle. We describe a grammar, then let the system unfold.
That is the same idea behind many generative art techniques: the artist designs the behavior, and the code produces the final image. Every parameter becomes a tweak into a different visual.
Experiment and Explore
You can make this art your own by:
- Changing the angle from
25to20,30, or45 - Increasing and decreasing the iteration count
- Editing the plant rule and adding more
[and]branches - Trying a new axiom like
F+F+F+F - Changing the stroke color from yellow to another palette
- Slowing the draw speed so the structure appears more gradually
- Creating another L-system by changing
axiom,rulesText,iterations, andangle
You might be surprised how quickly new patterns start to emerge.
You can find the full source code here:
Wrapping Up
Thank you for following along with this tutorial! If you have any questions, feedback, or just want to share your own creations, please feel free to leave a comment below. I’ll make sure to respond and help you out as best as I can.
Stay connected for more exciting tutorials and creative coding tips by subscribing to this blog. I really appreciate it!
Happy coding, and see you in the next tutorial!
Want to stay updated with new articles? Just hit subscribe — it’s completely free, and I’d really appreciate the support. Thanks a lot!