Mastering Creative Coding: Building Interactive Radial Strokes with p5.js

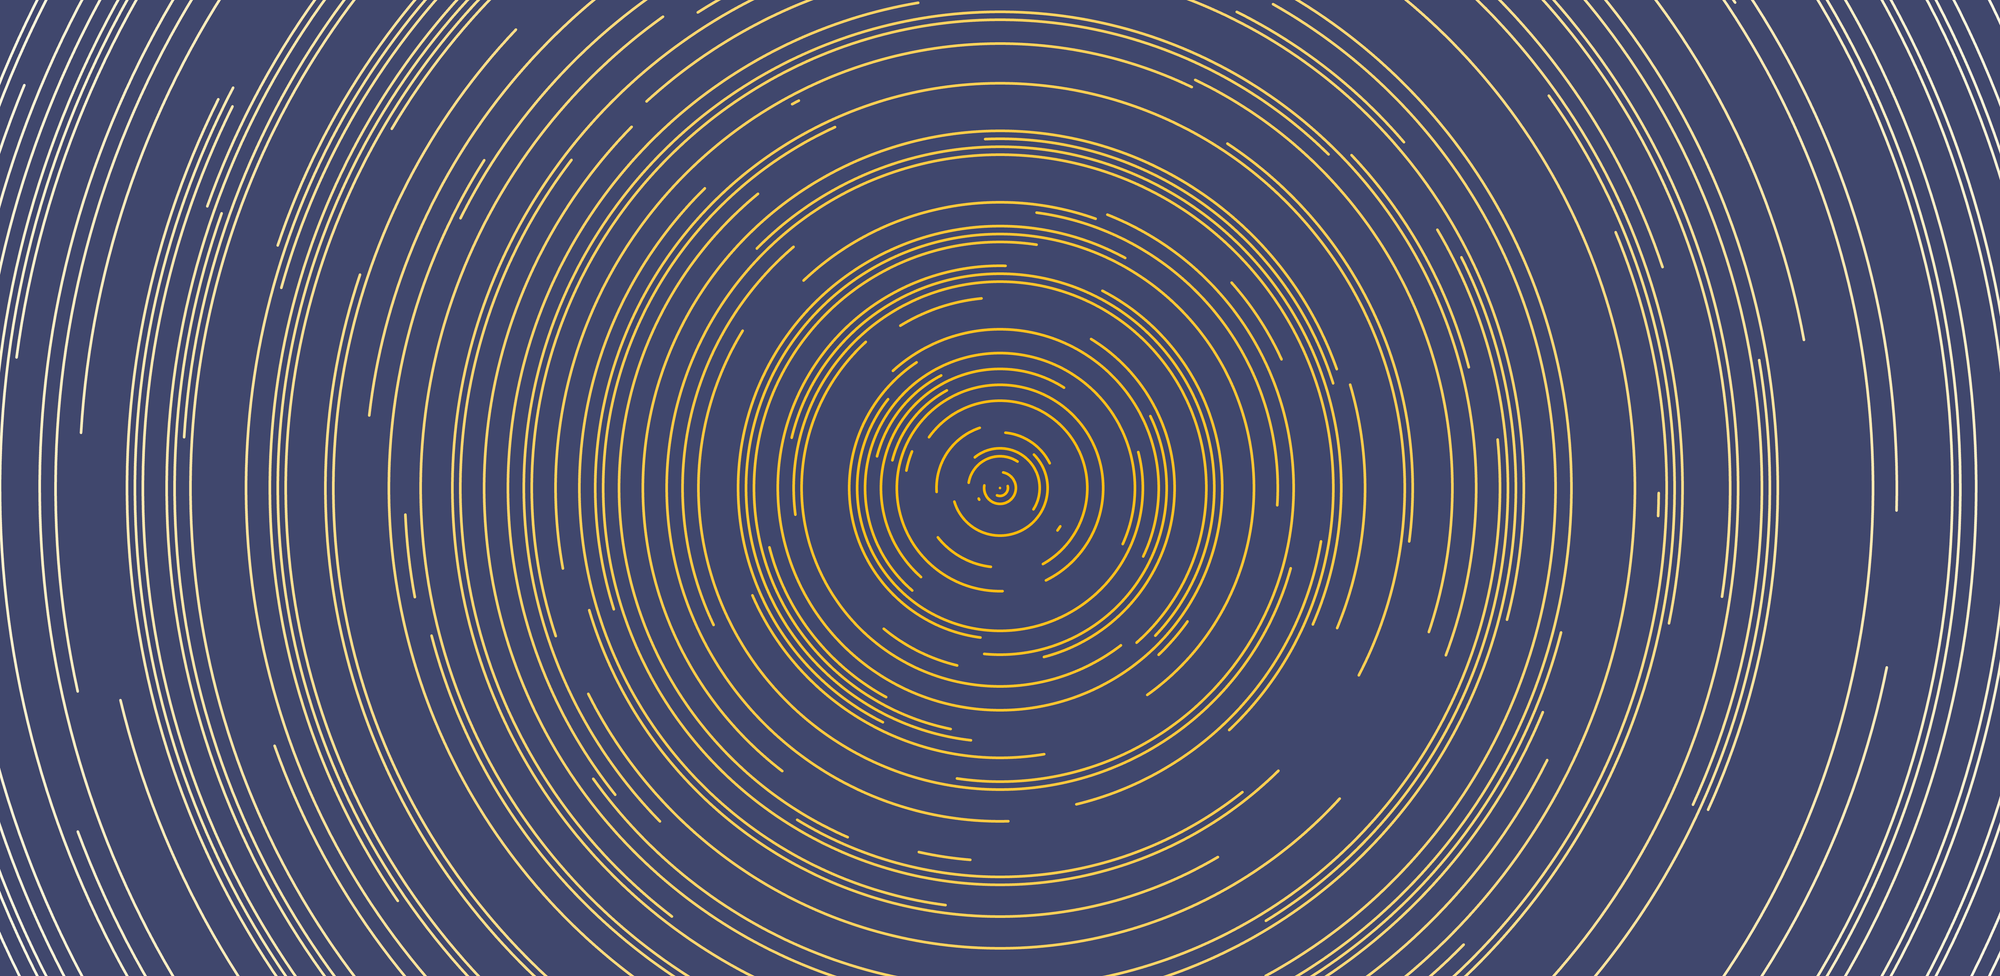
Hello friends, and welcome to another creative coding tutorial! Today, we're going to create an interactive piece of digital art using p5.js. You can interact with this artwork by changing parameters in the top right corner, and watch as the digital art transforms in real-time.
Getting Started with JavaScript Classes
In this tutorial, we’ll use a JavaScript class to describe and draw arcs. If you're not familiar with classes in JavaScript, don't worry! I’ve got you covered with a detailed introduction in this article:

In short, classes are a fundamental part of object-oriented programming (OOP) and help you organize your code by bundling properties and methods into reusable blueprints for objects.
Analyzing the Structure of an Arc
Before we dive into the code, let's break down the properties that define an arc in our artwork. Each arc represents a portion of a circle, so it can be described using:
- x, y coordinates: The center point of the arc.
- Radius: The distance from the center to any point on the arc.
- Start and End Angles: These determine the section of the circle that the arc covers.
- Color: The hue of the arc.
- Weight: The thickness of the arc’s stroke.
Defining the RadialStroke Class
To encapsulate these properties, we can define a RadialStroke class in JavaScript:
class RadialStroke {
  constructor(x, y, distance, angleStart, angleFinish, color, weight) {
    this.x = x;
    this.y = y;
    this.distance = distance;
    this.angleStart = angleStart;
    this.angleFinish = angleFinish;
    this.color = color;
    this.weight = weight;
  }

  draw() {
    stroke(this.color);
    strokeWeight(this.weight);
    if (this.angleStart > this.angleFinish) {
      let newStart = this.angleFinish;
      this.angleFinish = this.angleStart;
      this.angleStart = newStart;
    }

    beginShape();
    for (let i = this.angleStart; i <= this.angleFinish; i++) {
      let a = map(i, 0, 360, 0, TWO_PI);

      let newX = this.x + cos(a) * this.distance;
      let newY = this.y + sin(a) * this.distance;

      vertex(newX, newY);
    }
    endShape();
  }
}
Understanding the Draw Method
In the draw() method, we define how the arc will be drawn:
- Setting the Stroke: We start by setting the stroke color and weight.
- Angle Adjustment: If the start angle is greater than the end angle, we swap them to ensure the arc is drawn correctly.
- Defining Vertices: Using a loop, we calculate the position of each vertex on the arc. The
map()function converts degrees into radians, which are then used in the cosine and sine functions to determine thexandycoordinates of each point on the arc. If you're new to polar coordinates, you might find my article helpful:

Implementing the Radial Strokes
Now that we have our RadialStroke class, let's use it to create our dynamic artwork. We’ll start by defining some variables and settings:
let settings = {
  arcs: 30,
  radius: { min: 1, max: 360 },
  gap: { min: 15, max: 25 },
  weight: { min: 2, max: 15 },
  arcsColor: "#dbf7ff",
  gradient: "tints",
  background: "#012d3a",
  speed: { min: 0, max: 0.003 },
  directions: "both",
};

let curves = [];
Setting Up the Canvas
Next, let's define the setup() function:
function setup() {
  createCanvas(window.innerWidth, window.innerHeight);
  pixelDensity(4);

  createRadialStrokes();
}
Here’s what happens:
- Canvas Creation: We create a canvas that spans the full width and height of the window.
- Pixel Density: We increase the pixel density for sharper visuals.
- Calling createRadialStrokes(): This function will initialize the arcs based on the settings.
The GUI, which allows you to tweak various parameters of the artwork in real-time, is created using Tweakpane. However, I won’t dive into the details of how Tweakpane works in this article.
Creating the Radial Strokes
The createRadialStrokes() function generates each arc using the RadialStroke class:
function createRadialStrokes() {
  colorGen = new ColorGenerator(settings.arcsColor);
  let colors;

  if (settings.gradient == "tints") {
    colors = colorGen.getTints(settings.arcs);
  } else {
    colors = colorGen.getShades(settings.arcs);
  }

  gap = random(settings.gap.min, settings.gap.max);

  for (let i = 0; i < settings.arcs; i++) {
    let angleStart = int(random(settings.radius.min, settings.radius.max));
    let angleFinish = int(random(settings.radius.min, settings.radius.max));
    let movementDirection;

    switch (settings.directions) {
      case "both":
        movementDirection = int(random(0, 2));
        break;
      case "left":
        movementDirection = 1;
        break;
      case "right":
        movementDirection = 0;
        break;
    }

    let movementSpeed = random(settings.speed.min, settings.speed.max);
    let curveWeight = random(settings.weight.min, settings.weight.max);

    curves[i] = new RadialStroke(
      width / 2,
      height / 2,
      i * gap,
      angleStart,
      angleFinish,
      colors[i],
      curveWeight
    );
  }
}
In this function:
- Color Selection: We generate tints or shades based on user settings. I do this using another class I created, which is available in the source code given at the end of the article
- Gap Calculation: The distance between arcs is randomized for a more dynamic look.
- Arc Creation: For each arc, we randomly determine the start and end angles, the direction, and the movement speed, then create an instance of
RadialStroke.
Bringing It All Together: The draw() Function
Finally, let’s look at the draw() function, which ties everything together by rendering the radial strokes on the canvas:
function draw() {
  background(settings.background);
  noFill();

  for (i = 0; i < settings.arcs; i++) {
    curves[i].draw();
  }
}
In this function:
• Clearing the Canvas: We start by setting the background color, which resets the canvas at the beginning of each frame.
• No Fill for Shapes: We ensure that our arcs are only stroked and not filled with color.
• Rendering the Arcs: The loop iterates over each arc, drawing it based on the properties defined in the RadialStroke class.
This draw() function is what makes your artwork dynamic, as it continuously refreshes the display with the latest settings and positions of the arcs, giving the impression of movement and interaction.
Don’t miss any new posts — subscribe for free! It really helps me out, and I’d love to have you along. Thanks!
Conclusion
By following this tutorial, you've learned how to use JavaScript classes in p5.js to create interactive, dynamic radial strokes. This process not only deepens your understanding of object-oriented programming but also opens up new possibilities for creative coding.
You can find the full code for this project here
Feel free to experiment with the settings to create unique patterns and share your creations with the community. Don’t forget to check out my other tutorials to continue your journey into creative coding and generative art!
Happy coding!
Next Tutorial
In the next article, we will look at how we can create a generative art, using a nice watercolor effect and a dynamic grid. See you there!


